Do you know about the Azure Cloud Shell? If you don’t, this post is for you. If you do, this post might be for you, because cloud shell is available in more places than you might think.
I recently gave a talk at the Azure security and compliance event in Sunnyvale, and showcased the Azure Cloud Shell. In showing this, I did not only show cloud shell in the Azure portal, but I also showed it in the Windows Terminal as well as in Visual Studio code.
In this blog post, you’ll learn more about cloud shell and the different places Cloud Shell is available. Let’s start by introducing the Azure Cloud Shell.
What is the Azure Cloud Shell?
The Azure Cloud Shell is a shell that is integrated into the Azure portal. It offers you an admin machine at your fingertips, with tons of tools preinstalled. It even has – in the Azure portal at least – a visual code editor available. If you’re tired of having to look on StackOverflow on how to exit vim, this visual code editor might be your saving grace.
Another saving grace might be all the preinstalled – and up to date – tools. The cloud shell has goodies such as git, Terraform, python, kubectl, helm and much more pre-installed. For a full list please refer to this documentation page.
It wouldn’t be an Azure Cloud Shell if the Shell didn’t come with Azure tools preinstalled. When you launch cloud shell, you can switch back and forth between the Az CLI or Azure PowerShell. If you need AzCopy, Azure Functions core tools, Service Fabric CLI those are also preinstalled.
Azure Cloud Shell itself is free of charge. You are charged for the persistent storage it creates.
Why don’t we have a look at what cloud shell looks like in the Azure portal?
Setting up cloud shell for the first time
To open cloud shell, you can hit the little shell icon in the top of the Azure portal.

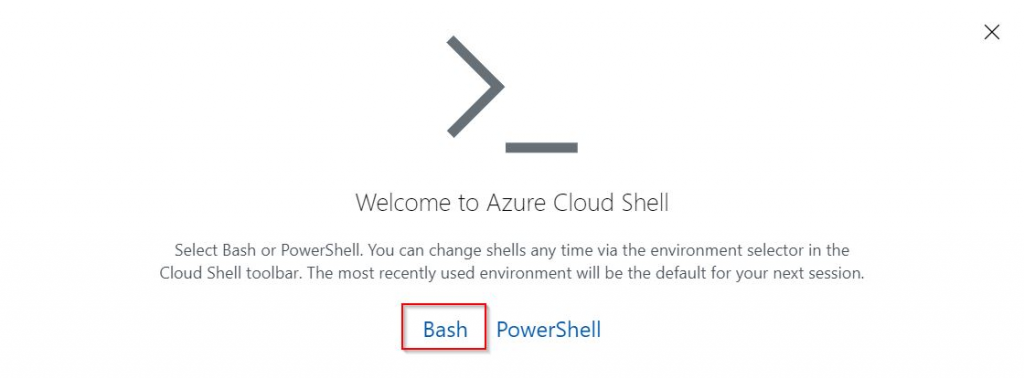
If this is your first time opening cloud shell, you’ll be presented with the question if you prefer to run Bash (aka Az CLI) or PowerShell. For the examples in this post, we’ll focus on Bash. Don’t worry, you can always switch between both.
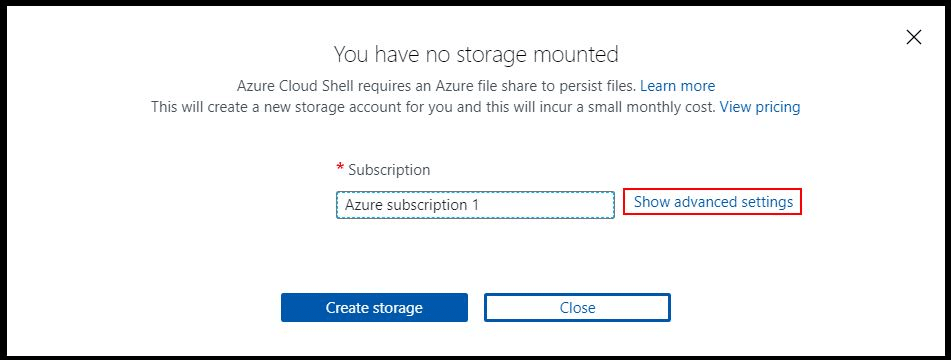
You’ll now be asked to configure storage for the shell. To be able to do this, you need have access to at least a resource group and have storage access rights in that resource group. If you want a little more control over your storage, you can hit the advanced settings and configure a different storage account.
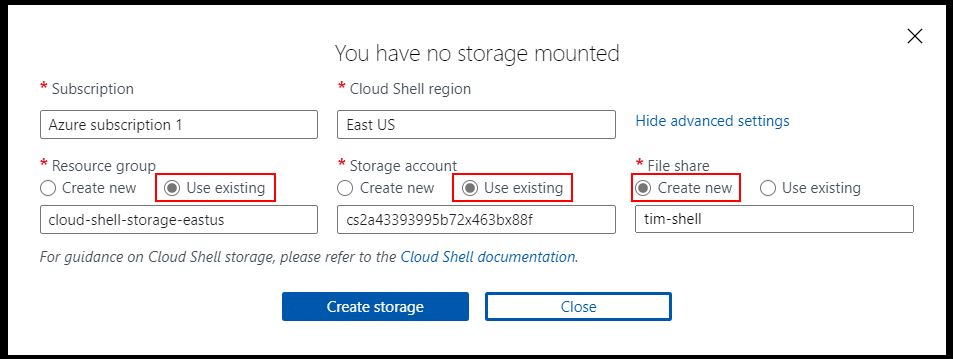
In the advanced setting view you are able to point cloud shell to a new or an existing resource group name, a new or existing storage account and a new or existing file share. You can also configure the region in which you want your data to be stored.
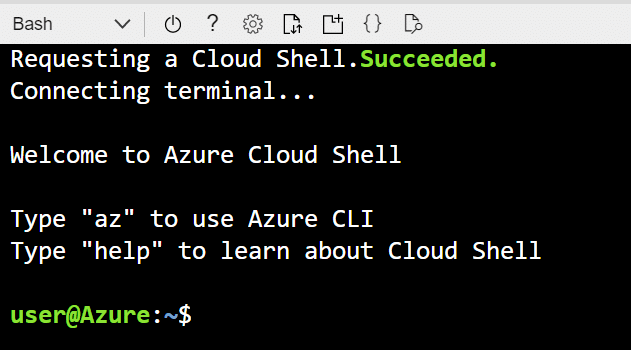
Now, create the storage configuration and give it a couple seconds. Once all is created, you should be presented with your shell.

Once in this shell, you can execute all sorts of commands. You can download files, execute scripts and clone git repos.
Let’s try some things out:
Examples of things you can do in Cloud Shell
Let’s run through two example of using Cloud Shell:
- Let’s create a resource group and a VM in bash
- Let’s create another VM using an ARM template from the Azure Quickstart and make code changes using the visual editor
Using Cloud Shell to create a VM using Az CLI
We’ll start this demo by creating an SSH-keypair. If you already have one in your cloud shell, you can skip this part. To create a new keypair, use the following command (all the default settings are fine)
ssh-keygenTo create a new resource group (assuming you’re running the Bash version), you can use the following command:
az group create -n shell-demo -l westus2This will create a new resource group for you:
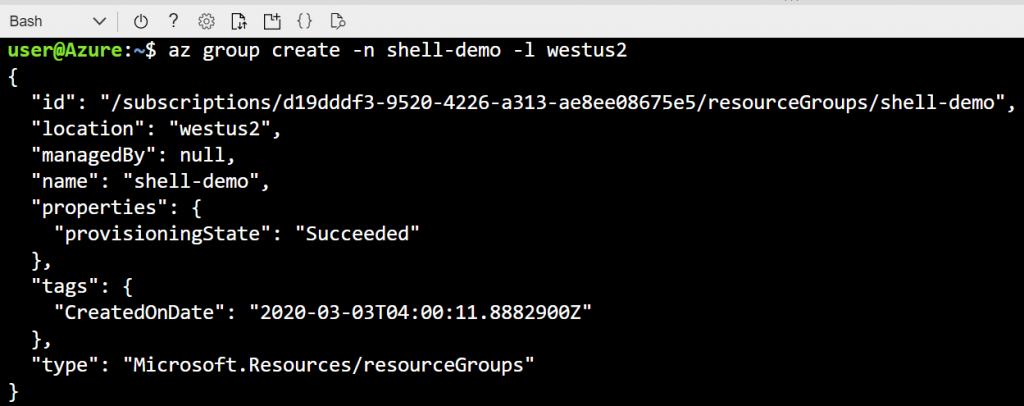
Did you notice here how you didn’t have to authenticate? Azure CLI uses the credentials from the Azure portal to do the authentication.
With that new resource group created, we can now create a new VM using the Az CLI:
az vm create -n shell-vm -g shell-demo --image ubuntults --admin-username nilfranadmin --ssh-key-values ~/.ssh/id_rsa.pubThis will create a VM, that we can later connect to using the username and the ssh key we provided. It’ll take about a minute for the VM be deployed, so be a little patient.
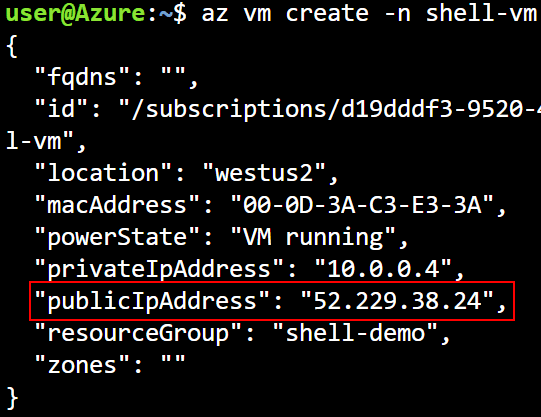
This will output the public IP address of the VM. You can use that IP address to connect to the VM, using:
ssh <username>@<ip address>This will connect to that machine, and will ask you if you trust the fingerprint. Type yes to continue connecting to the machine.

And finally, you’ll be connected to that new VM. To exit out of that VM, you can type exit.
This created a VM using the Az CLI using the cloud shell. And this without having the pre-install the Az CLI, or even authenticate to it. It used the same user credentials as the Azure portal. Let’s in the next step, connect use an ARM template to do the same.
Using the code editor to make changes to files in cloud shell
There a large repository of ARM templates available on Github. We will clone that Github repo into cloud shell, and then use the code editor in cloud shell to make a change. We’ll then deploy that VM using cloud shell.
To start, we’ll clone that git repo into our shell. To do this, (make sure you’re not longer connected to that demo VM), you use the following command:
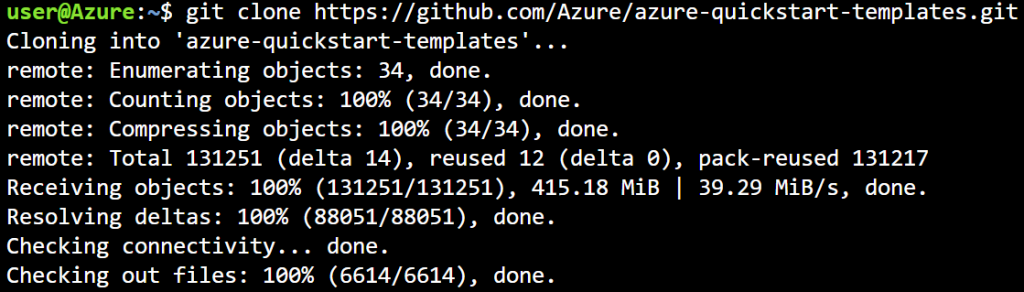
git clone https://github.com/Azure/azure-quickstart-templates.gitThis will clone the complete sample set of ARM templates. Did you notice how you didn’t have the first install git, it was simply there?
Next step if to make some changes to the files there. Navigate into the directory using:
cd azure-quickstart-templates/There’s a couple of way in which you can now use the code editor. You can use it to open a specific individual file using a command like this:
code 101-vm-simple-linux/azuredeploy.parameters.jsonOr you can open the code editor in the local location and explore the files for yourself:
code .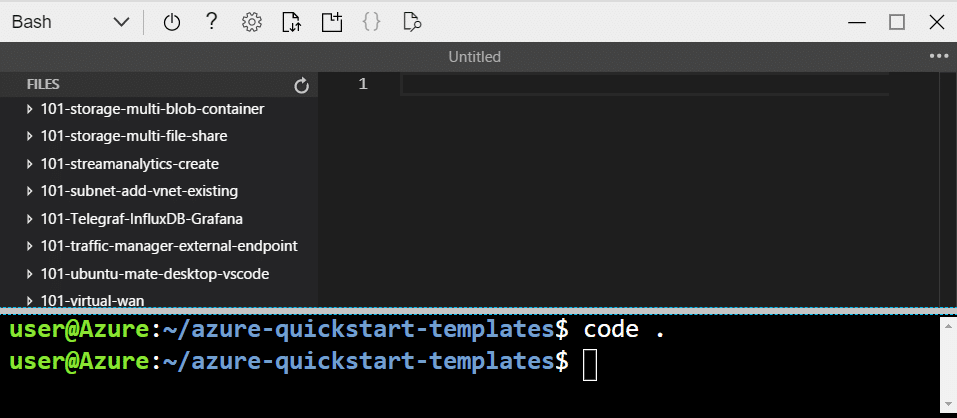
If you use the second method, look for the 101-vm-simple-linux folder and open the azuredeploy.parameters.json file. In there, make changes to include your username, public key and a unique DNS prefix. If you can know how to find your public key, use the command cat ~/.ssh/id_rsa.pub and copy-paste the value into the parameters file.
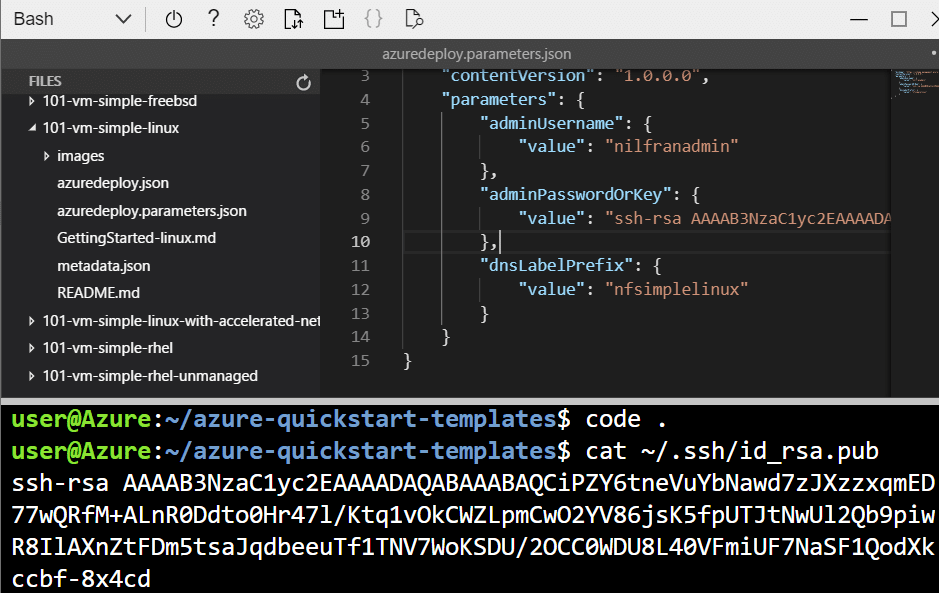
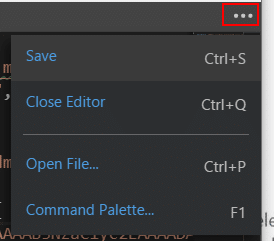
Save the file using either CTRL+S (CMD+S on a Mac) or click on the three dots in the top right to open the menu.
We’re now ready to deploy the template. This can be done using the following command:
az group deployment create -g shell-demo -n ARMtemplate --template-file 101-vm-simple-linux/azuredeploy.json --parameters @storage.101-vm-simple-linux/azuredeploy.parameters.jsonThis showed you how you can use the code editor in the portal to edit files in cloud shell. Let’s now look in a couple other places where cloud shell is available.
Cloud Shell in Windows Terminal
If you didn’t know, Microsoft is building a new Windows Terminal. It is very awesome, and it includes cloud shell. To get the new Windows Terminal, you’ll to use the Microsoft Store to install it:
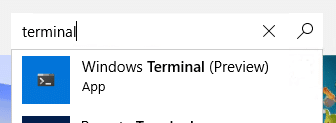
In the store, look for Terminal and open that app and install it.
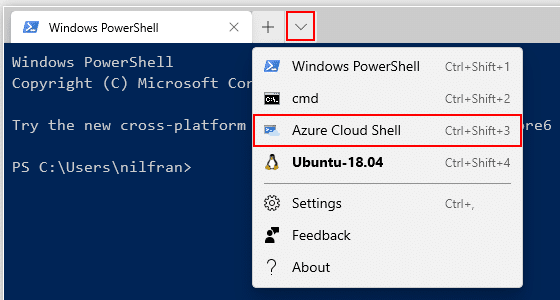
Once you installed the app, open the Terminal and look for the pointing down arrow, click on it and select Azure Cloud Shell there.
If this is the first time opening up Cloud Shell, you’ll be asked to sign in. Browse to https://microsoft.com/devicelogin and enter the code the terminal presented you.

Once you’re signed in , this will ask you if you want to save your connecting settings. This means that next time you open cloud shell again, you won’t have to re-authenticate. This is awesome for productivity, but you just have to be mindful about your standing access.
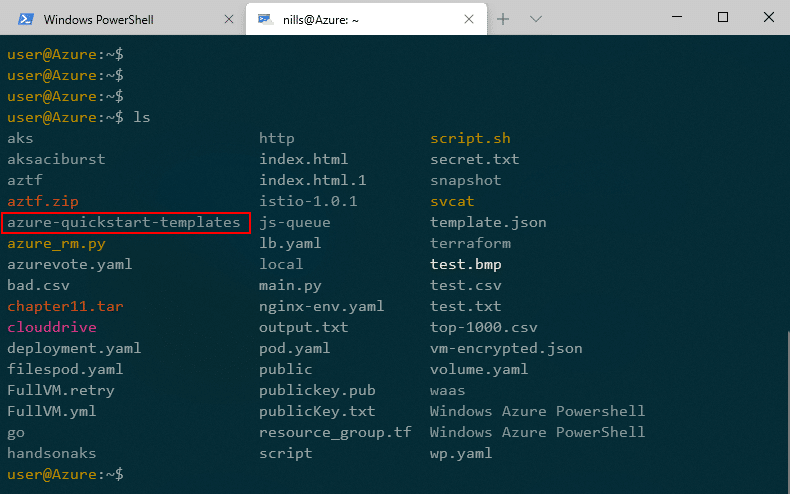
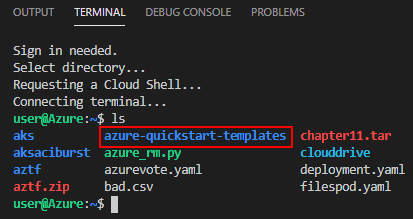
Now that cloud shell is opened, you can do a ls operation to list all the files in your working directory. You should see there the github repo we just cloned. That’s right, files are persisted on the cloud shell, and available for anywhere.
This has shows you how you can run the cloud shell from the Windows Terminal. Let’s also have a look at the cloud shell in VScode.
Cloud Shell in VS Code
VS Code is even more awesome than the Windows terminal. It is a free and open-source code editor. It is very lightweight but powerful at the same time. A lot of the power from VS Code comes through it’s network of extensions, and cloud shell can be integrated with VS Code using one of those extensions.
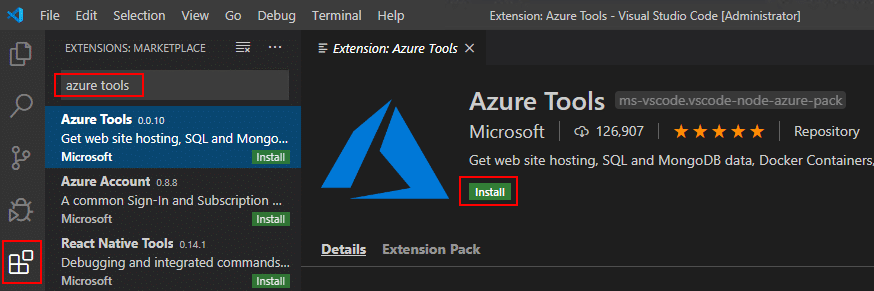
To install VS Code, follow the instruction on the VS Code website. Once you have VS Code installed, open it up. To install this, open the extensions view, look for ‘Azure tools’ and install the Azure Tools.
To use the Cloud Shell from VS Code, you also need node JS installed on your machine. Download and install node using the instructions on the node website.
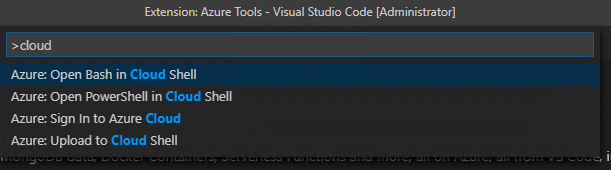
Once you have the Azure tools and Node installed, you can open a Cloud Shell for VS Code (you might need to restart VS Code if you installed node while VS Code was open). To do this, open the command palate using CTRL+SHIFT+P, then type cloud shell. This should show you the options to open cloud shell in Bash or PowerSh
This will open a popup, that will guide you to a login page:

Log in on that page, and then you can access cloud shell from VScode. If you do a ls operation again, you should again see the folder we created earlier.
And this is how you use cloud shell from VS Code.
Summary
I’m a pretty heavy user of cloud shell. It’s just so awesome to not have to preinstall any tools, and have them available anywhere you go. In this post, we looked at an introduction of the cloud shell and we looked into two interesting places where the cloud shell is available that you might not have predicted.
If you have other fun places where you run cloud shell, let me know! Happy to extend this post.