If you need to move large amounts of data from 1 VM in Azure to another VM, a easy way to move that data is rather than copying the individual files, you could take a disk snapshot, and then mount the snapshot to a new VM.
I had this proposal in a customer scenario recently, where we needed to move large files from a Windows Machine to a Linux Machine (SLES15).
Let’s walk through it:
Test infrastructure
I have the following infrastructure:
- Windows VM, running 2016
- Suse VM, running sles 15.
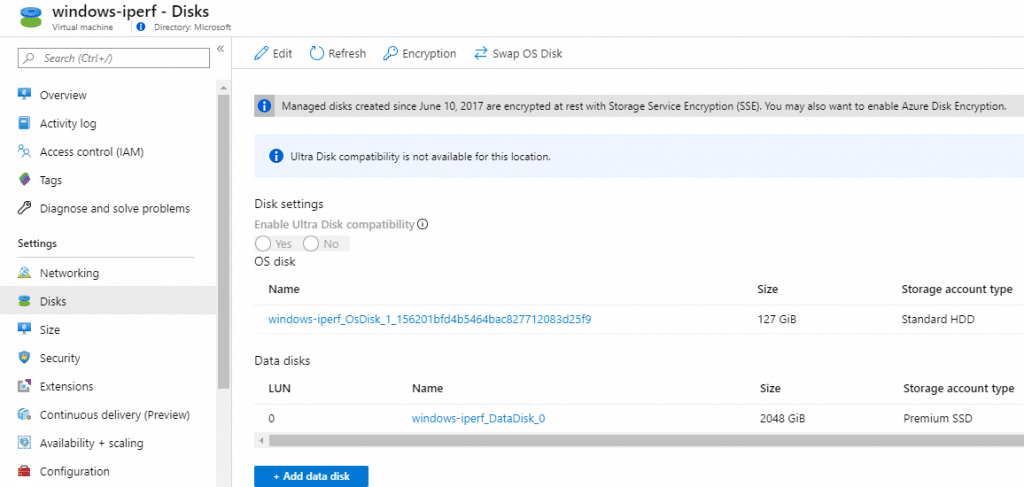
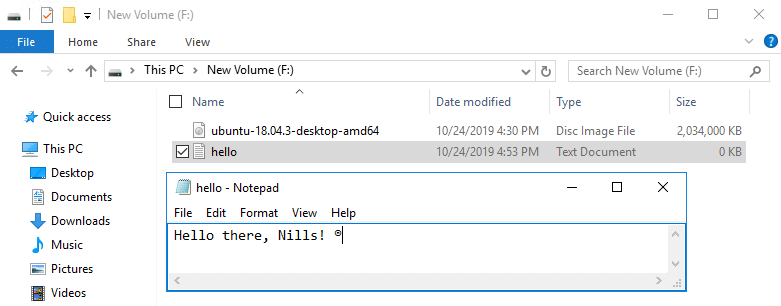
I mounted a 2TB premium disk to my Windows VM, and have 2 files there: a sort of large files (ubuntu ISO) and a text file (saying hello to myself). None of these disks are encrypted.
The SUSE VM is running nothing special, just the OS disk for now.
Creating the snapshot, creating a disk, mounting the disk to the new VM
We need to execute three steps to copy that disk to our new VM.
First step is taking the snapshot. Recommendation for production use cases here is to shutdown the source VM to avoid any data corruption. If you cannot shut down the source, make sure you’re not writing any files to disk when taking the snapshot to avoid corruption.
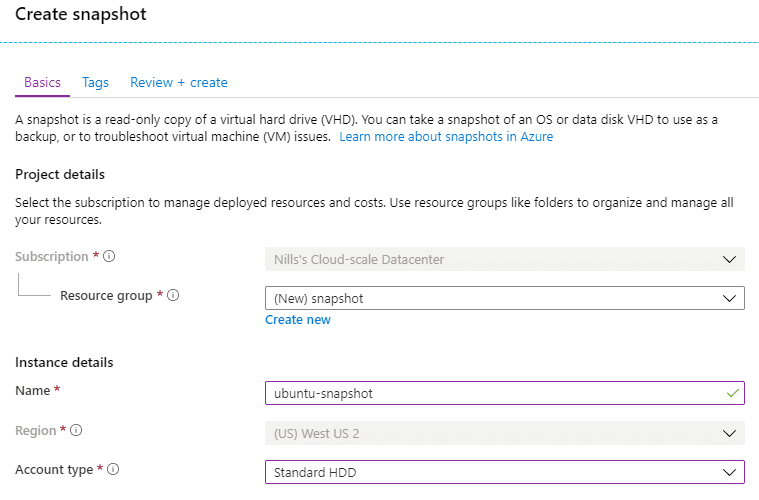
To take the snapshot, head over to the disk in Azure, and hit the Create Snapshot button.

Follow the instructions in the next pane to create the snapshot.
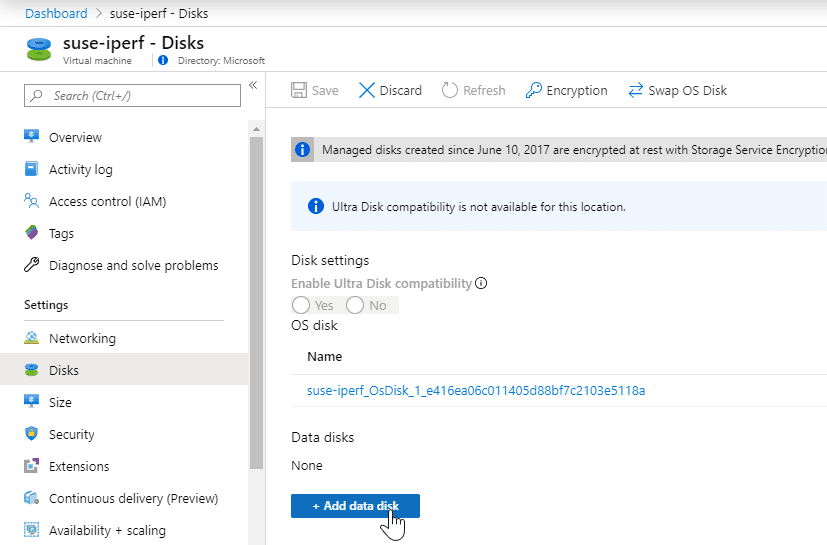
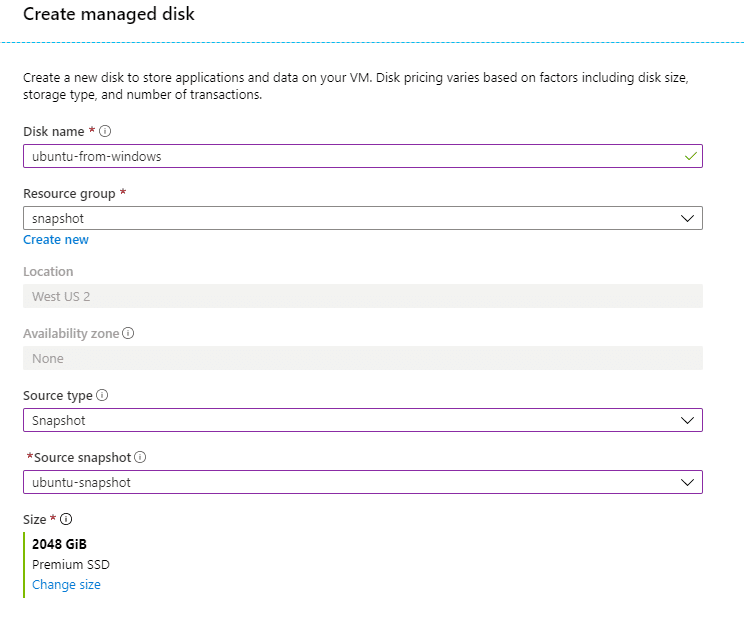
Creating the snapshot takes about a minute or less. When the snapshot is taking, we’ll create a new disk. Go into your target VM blade (suse in my case), open the disks blade, and hit the edit button. In the bottom you’ll see, Add Data disks, click that and then hit “Create new Disk”.
Fill in the right details to create your disk. Make sure to select source type as Snapshot and refer to your existing snapshot.
When the disk is created – takes a couple of seconds – hit the save button in the disks blade of the VM.
Mounting the VM in SUSE
Login to your SUSE VM (SSH), and execute the following commands:
sudo su
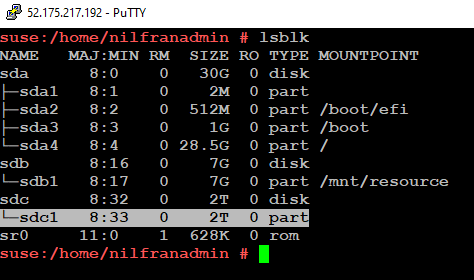
lsblkin the output, you should see all your disks. Note the name of your disk that came from Windows. In my case that was /dev/sdc1
After that, we’ll install an NTFS driver, and them mount our disk:
**Note: I am running SLES15 and will use a SLES15 repo. If you’re running a different version of SLES, add the repo for your version.
zypper addrepo https://download.opensuse.org/repositories/filesystems/SLE_15_SP1/filesystems.repo
#you'll get a question, reply with 'a'
zypper refresh
zypper search ntfs
zypper install ntfs-3g
mkdir /fromwindows
mount /dev/sdc1 /fromwindows/
With that done, we should see the content of our text file.

Conclusion
If you need to copy very large files between two VMs, taking a disk snapshot might be a lot quicker than doing a network copy. This even works when copying/remounting from Windows to Linux machines (proven here from Windows 2016 to SLES15).