A couple of weeks ago I had a customer conversation around Windows Virtual Desktop. I had only seen a couple of online videos at that point about WVD, and hadn’t yet gotten my hands dirty with the technology yet.
I’ll share my full conclusion at the end of this post, but let me give you the highlights of my experience:
- The setup experience was a bit painful, as it required a couple lines of PowerShell and special modules to be installed.
- That experience might be helped with partner solutions.
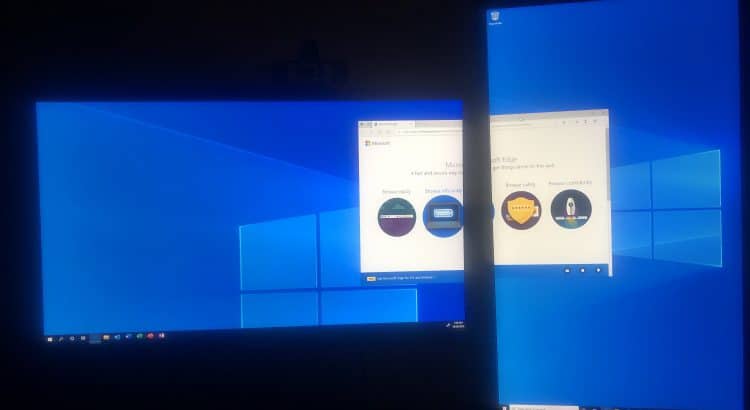
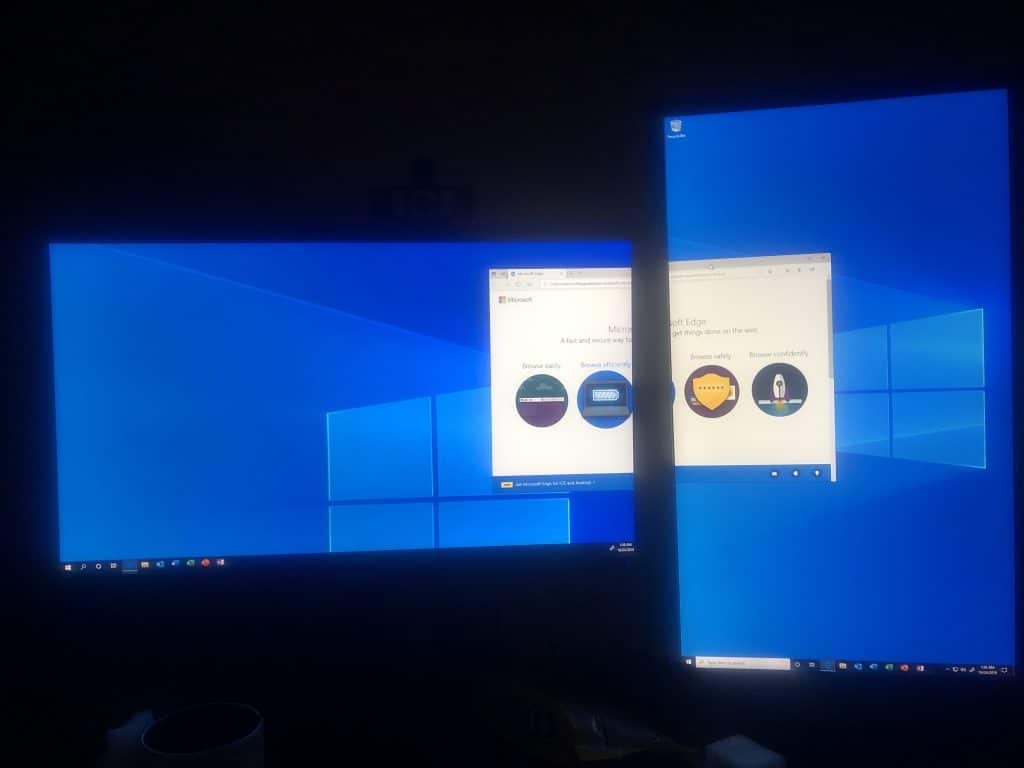
- The browser app was a little laggy (even my wife noticed), the remote desktop client worked surprisingly well – even filling two non-standard monitors. (picture in the bottom of this post)
But before we go too much in depth in the conclusion, why not start out with explaining what WVD is:
What is Windows Virtual Desktop?
Windows Virtual Desktop (WVD) is a managed virtual desktop and virtual apps solution hosted on Azure. Think of it as the combination of the best of the Microsoft 365 stack and the best of Azure.
There are a couple benefits you get from WVD:
- The only multi-session Windows 10 desktop hosting solution. This allows you to have multiple users share the same Windows 10 virtual machine, but each have their own environment.
- Optimized for Office 365 ProPlus. Running Office (including Teams) on WVD has been optimized and tuned for the best performance.
- Deploy and scale in minutes, with only having to manage/see the actual VMs you use; and none of the surrounding infrastructure (session gateway, load balancers etc.).
- For those of you knowledgeable in the VDI space, WVD comes with the licenses for FSLogix technology. If you don’t know about FSLogix, the technically allows you to store a user’s roaming profile in a centralized file share and mount that profile in stead of copying/loading it locally.
- The ability to run Windows 7 desktops in the cloud (previously not allowed) with 3 years of additional support.
So that’s the marketing pitch, but the technology itself is also pretty interesting to look into. When setting up a traditional VDI environment using RDS, you need to setup a gateway, a licensing server and a connection broker in addition to the actual session hosts. If you wanted to give people access through the web, you also needed to a seperate web access server.
WVD abstracts all this away for you. WVD offers you – at no additional cost – this RDS farm fully managed for you. WVD will provision in your subscription the actual session hosts. You get to control those session hosts, install your applications, and domain join them to your existing domain.
In terms of connectivity, WVD leverages the internet by default for connectivity. The session hosts make an outbound connection to the WVD management plane, and your ens-users connect to that management plane. You don’t need any public IPs on your host pool, as those only make outbound connections to the WVD management plane.
With the introduction out of the way, let’s get started with the setup.
Prerequisites
Before we can setup WVD, we need some prerequisites. Most of them are related to AD and Azure AD:
- Global admin in Azure AD – which is a work/school account. A Microsoft account (aka live ID) won’t work.
- Domain Controller in Azure VNET- or at minimum reachable from your Azure VNET.
- AAD connect setup between your domain controller and Azure AD.
I won’t bore you to death with the setup of these details. But I can tell you this: it’s not easy to become global admin in Azure AD if you quickly want to test this out in your company. In my case, I am using my MSDN subscription that is linked to my own Azure AD to test this out. I typically don’t recommend creating new Azure AD tenants, but if your purpose is to test it out as well, a new tenant might be the path of least resistance.
Setting up WVD
First things first, you need to register a Windows Virtual Desktop tenant. This is a different tenant from the Azure AD tenant. However, you need global admin rights in Azure AD to create a new WVD tenant. So I cannot set this up in the Microsoft tenant, I’ll need to use my own.
I learned the hard way that you cannot use a Microsoft account (also known as personal account or Live ID). So use a user that is native to your Azure AD tenant as has the global admin rights.
To register WVD in your Azure AD tenant, you’ll need your Azure AD tenant ID. You can find this in the properties blade of Azure AD. With that, follow the following URL:
https://login.microsoftonline.com/{tenant}/adminconsent?client_id=5a0aa725-4958-4b0c-80a9-34562e23f3b7&redirect_uri=https%3A%2F%2Frdweb.wvd.microsoft.com%2FRDWeb%2FConsentCallback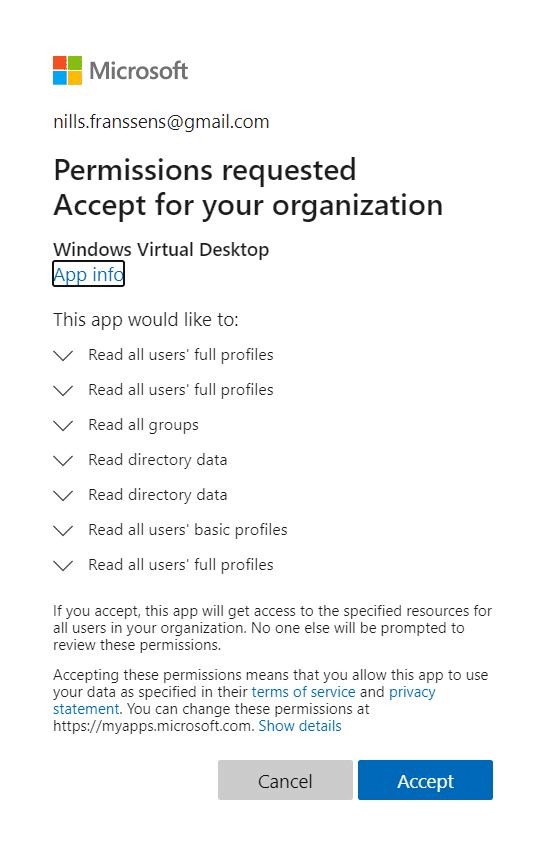
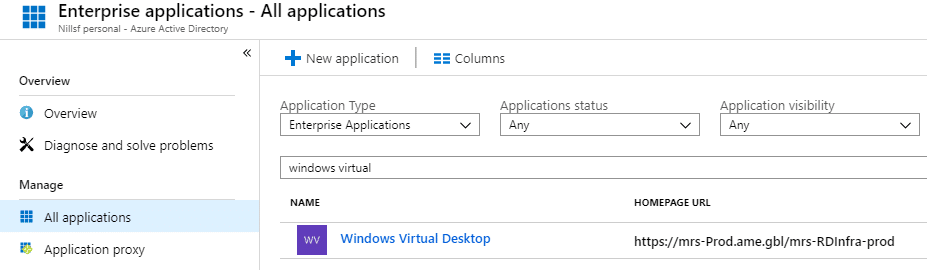
This step will register the application in Azure AD. After that, the global admin of Azure AD will need to give that application additional rights in Azure AD to create the tenant of WVD. In the enterprise applications blade in Azure AD, search for Windows Virtual Desktop.
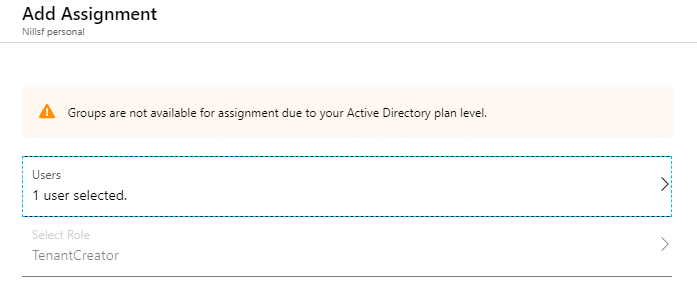
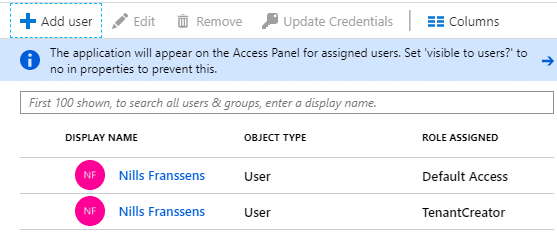
Next, we’ll give our user the TenantCreator role in this enterprise applicaiton. For that, go to the user blade in Windows Virtual Desktop and click add user.

Now we can go ahead and create out WVD tenant. We’ll need to provide two IDs in the creation process, our Azure subscription ID and our Azure AD ID (from earlier). To create to tenant, we’ll need to use PowerShell. We’ll need an additional PowerShell module for this to work, so we’ll install this:
Install-Module -Name Microsoft.RDInfra.RDPowerShellTo create the tenant, use the following PowerShell:
$AADID="42949aa4-09db-4624-9a32-83e2e02758c5"
$SUBID="ea122fb3-39a8-411c-995c-3724e344095f"
Add-RdsAccount -DeploymentUrl "https://rdbroker.wvd.microsoft.com"
New-RdsTenant -Name nilfran-wvd -AadTenantId $AADID -AzureSubscriptionId $SUBID
With that done, we need to setup service principals and role assignments in Azure AD and Azure. I put some comments in the script below, for more details, check out the Microsoft docs.
Install-Module AzureAD # if not installed
Import-Module AzureAD
$aadContext = Connect-AzureAD
#first we'll create a service principal and get a couple of variables set.
$svcPrincipal = New-AzureADApplication -AvailableToOtherTenants $true -DisplayName "Windows Virtual Desktop Svc Principal"
$svcPrincipalCreds = New-AzureADApplicationPasswordCredential -ObjectId $svcPrincipal.ObjectId
$sppassword=$svcPrincipalCreds.Value
$tenantid=$aadContext.TenantId.Guid
$appid=$svcPrincipal.AppId
#we'll now get our RDS tenant information
Add-RdsAccount -DeploymentUrl "https://rdbroker.wvd.microsoft.com"
$rdstenant = Get-RdsTenant
$myTenantName = $rdstenant.TenantName
New-RdsRoleAssignment -RoleDefinitionName "RDS Owner" -ApplicationId $svcPrincipal.AppId -TenantName $myTenantName
#make sure the SP can login to WVD
$creds = New-Object System.Management.Automation.PSCredential($svcPrincipal.AppId, (ConvertTo-SecureString $svcPrincipalCreds.Value -AsPlainText -Force))
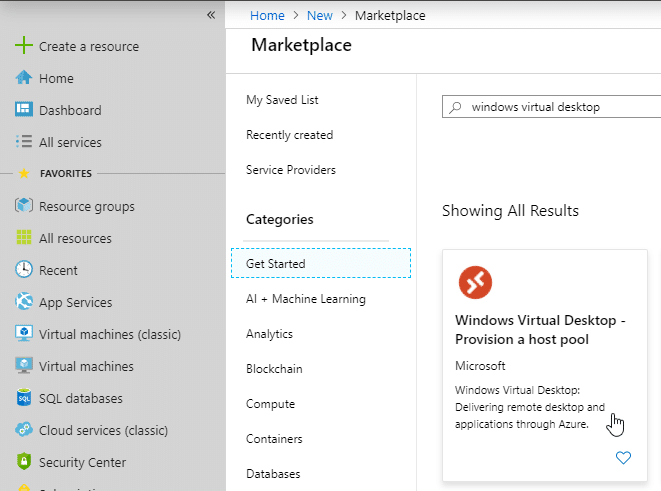
Add-RdsAccount -DeploymentUrl "https://rdbroker.wvd.microsoft.com" -Credential $creds -ServicePrincipal -AadTenantId $aadContext.TenantId.GuidNext, we can provision our host pool. We’ll look in the Azure marketplace for “Windows Virtual Desktop” and select the host pool option.
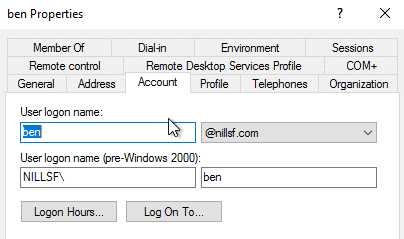
The first screen of the creation process asks for some basic details. This included default users that are allowed access to WVD. I created a user called ben in my Domain Controller, that I’ll use as the default user here.
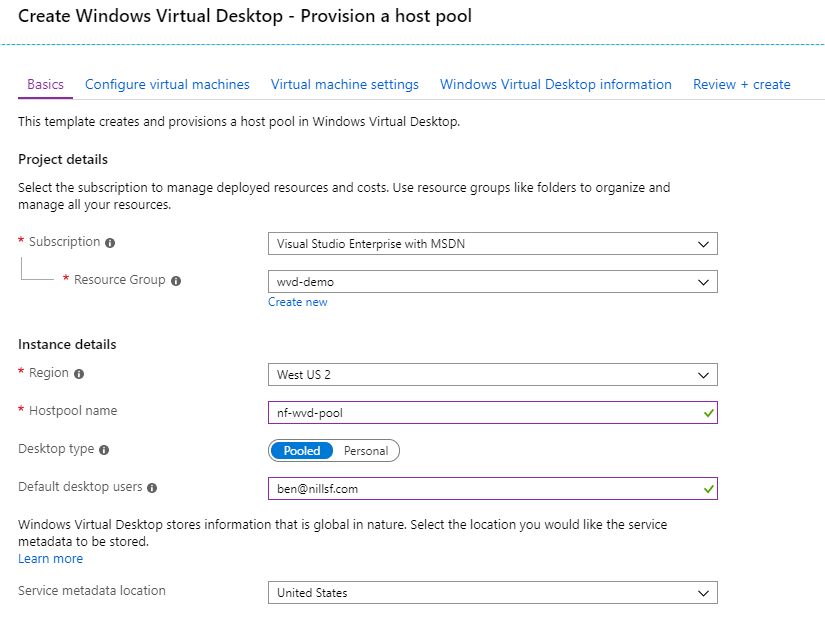
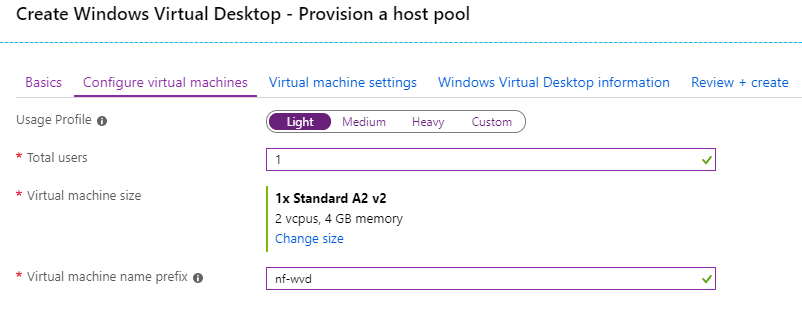
The next screen asks for machine details. As I’ll only have 1 user, we’ll supply that one user and machine details we want to default to. In my case, I don’t want to break my bank (I’m running on my visual studio subscription), so I’ll take an A2v2.
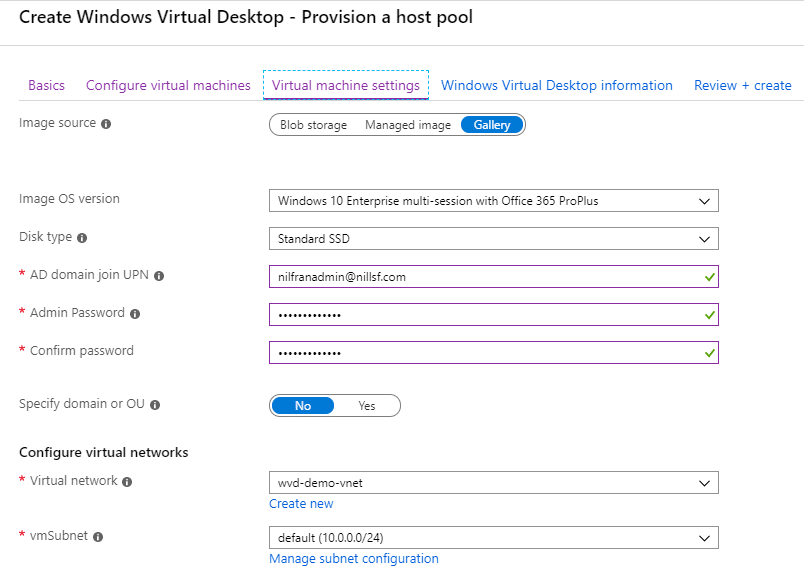
Next up, we’ll need to provide the image we want to use and how those machines can join our newly created domain:
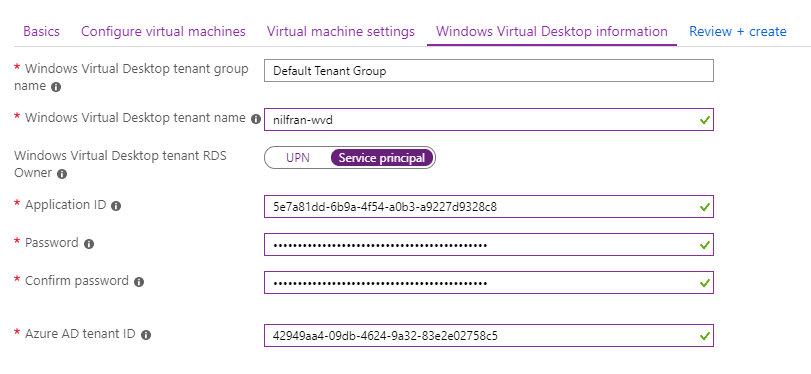
Next up, we’ll need to provide info on our WVD tenant. We have most of those stored in our PowerShell session, so we can copy-paste those values. Make sure to change the user type to Service Principal here.
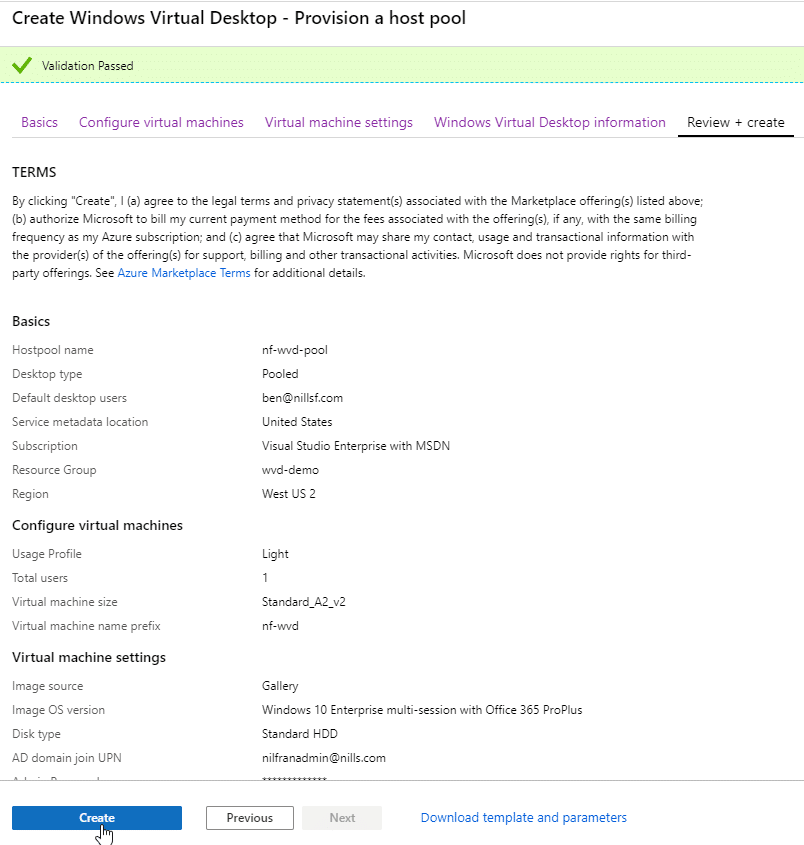
With that out of the way, we can finally create our host pool.
With that done, we can actually go ahead and connect (if you wait a couple minutes for everything to deploy that is).
Connecting to WVD
There are two options to connect to WVD:
Without any special configuration, you will be able to connect using both clients to the full desktop experience.
Let me show you the experience of connecting using the specialized desktop client. After installing the client, look for the client in your start menu:

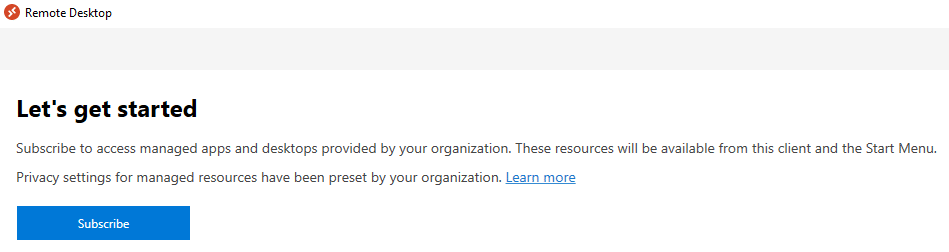
The app will then ask you to subscribe to a desktop. You’ll login with one of the users you provisioned to be used with WVD (in my case, that’s Ben).
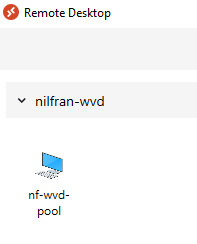
You’ll then see the host pool appear. Hit the pool and you’re able to connect.
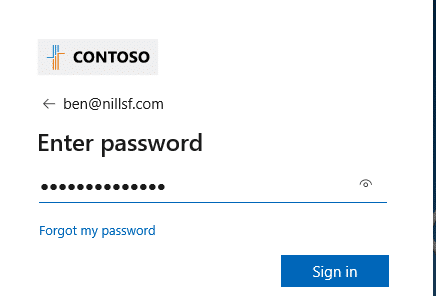
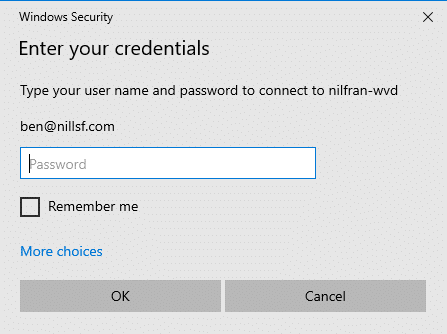
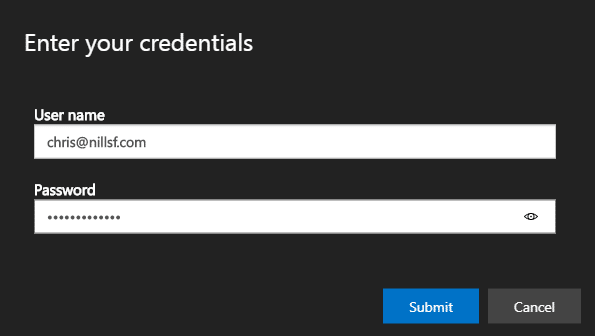
You’ll be prompted to login again, this time to the actual desktop:
And with that done, we’re connected to our virtual desktop. For me, the connection actually snips immediately to both of my monitors. So working on dual screen on a virtual desktop connection is support out of the box. NEAT.
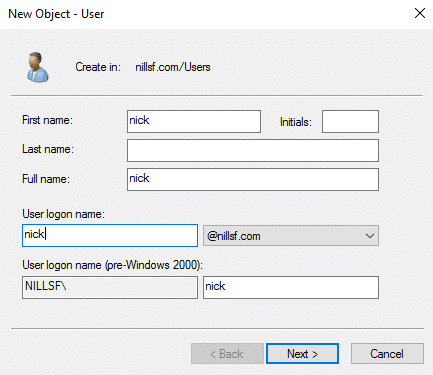
You can also connect to individual apps, rather than to a full desktop experience. To do this, you’ll first have to publish an app. To show this, I’ll create a new user, called Chris. I’ll create Chris in the domain controller, and then replicate his profile to Azure.
You might be wondering why I created a new user? If I tried assigning both a full desktop and an app to a user I got an error. This is because one user can only have 1 access per host pool. Either Desktop or App per host pool. One host pool however can host apps and desktops.
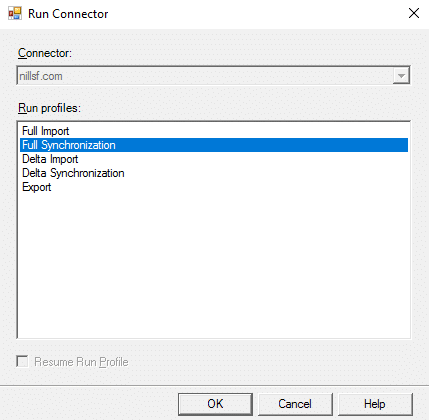
The sync – even when forced – can still take a couple minutes. Take those minutes to get familiar with the PowerShell below to publish an app:
Add-RdsAccount -DeploymentUrl "https://rdbroker.wvd.microsoft.com"
$tenantname="nilfran-wvd"
$hostpool="nf-wvd-pool"
$appgroup="remote-apps"
$remoteappname="text editor"
$appalias="wordpad"
$user="chris@nillsf.com"
New-RdsAppGroup $tenantname $hostpool $appgroup -ResourceType "RemoteApp"
Get-RdsStartMenuApp $tenantname $hostpool $appgroup
New-RdsRemoteApp $tenantname $hostpool $appgroup -Name $remoteappname -AppAlias $appalias
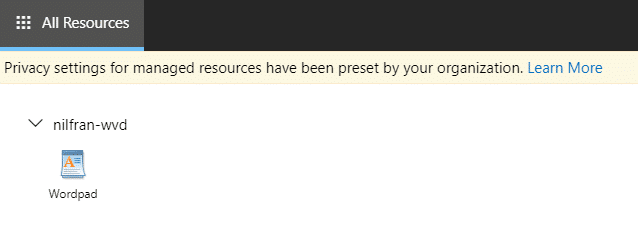
Add-RdsAppGroupUser $tenantname $hostpool $appgroup -UserPrincipalName $userOnce your user appears in Azure AD, you can execute that powershell. Once that is executed, let’s then head over to the web client, to see that experience and launch Wordpad in the browser.
Now we don’t see our host pool, but we see our Wordpad application.
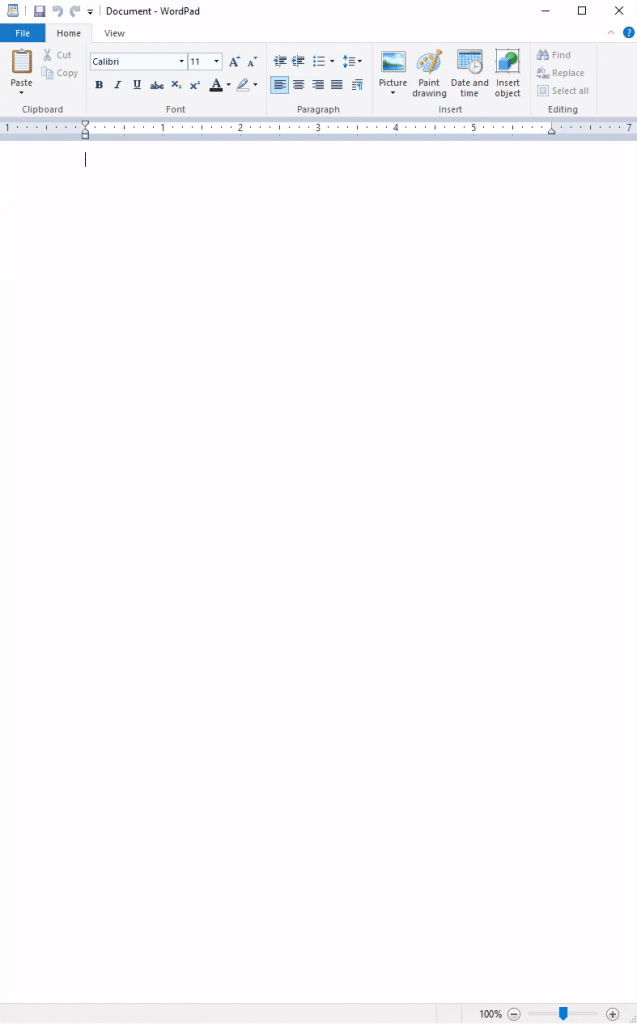
Click on Wordpad, and the application will open in the browser, after logging in of course.
And if we give that a minute (which is a bit long for my liking, but nothing is optimized here, so I am not in a place to complain), we see our Wordpad in the browser.
Conclusion
I liked the end-result of WVD, I didn’t much like the setup process to be honest. Part of that is my own mistake (I did some mistakes with domain accounts), but part of it is the heavy requirement of PowerShell to get everything stitched together. The creation of the tenant, and the creation of the application groups and the assigning of users to applications should be possible using a GUI, rather than requiring Powershell. That’s just my own personal opinion.
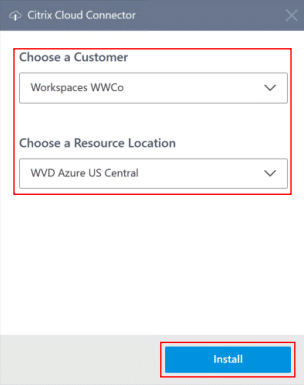
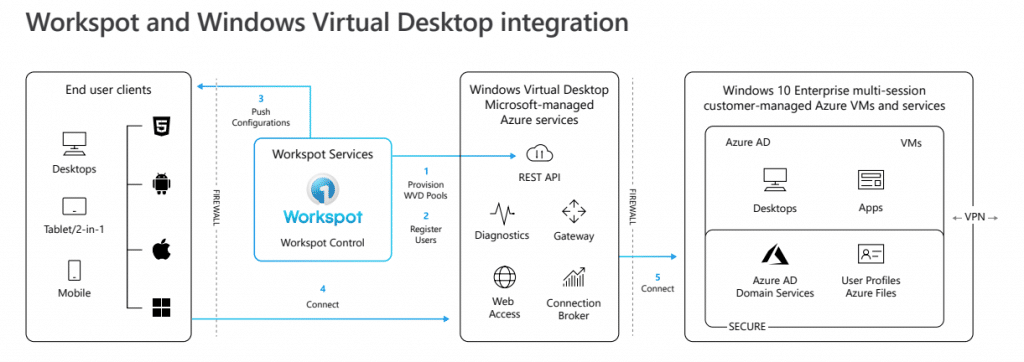
That being said, there are a couple of partner solutions that maybe help with that setup. Two examples here are Citrix and Workspot(*). From what I can see, Citrix has WVD as a resource location in their cloud interface, so you don’t have to set that up manually. Workspot claims to provision your WVD pools as well, meaning there will be less powershell for you to use.
(*) I picked Citrix and Workspot as examples as I am working with customers that are either using them or evaluating them. No sponsorship here and no personal recommendation from my part. Just picking names.
But once everything was setup, the end-user experience was quiet OK. I didn’t fully like the fact that I had to login twice to use my apps (a single login would have been more user-friendly) but I can live with that. The fact that the remote desktop used both of my screens was very interesting. One thing I did notice was a little lag in using Wordpad in the browser. I even asked my wife to test it out, as the lag was barely noticeable, and I wondered if I was going crazy. When she first tried it, she didn’t notice anything, but when I asked her to type in a local Wordpad, and then back in the browser Wordpad, she suddenly noticed it was “slow to type”. Opening Wordpad in the full remote desktop was actually OK.
That being said, I hope you try out WVD for yourself as well, and I hope this blog helps you in those tests..