
Azure Files offers a managed SMB 3.0 file share. Inside Azure Files, it was possible already to take file share snapshots to have a backup/retention solution. With the integration with Azure Backup, managing those snapshots has become a lot easier. The functionality is in public preview right now, so you can go ahead and try it out.
Setting Azure Backup for Azure Files
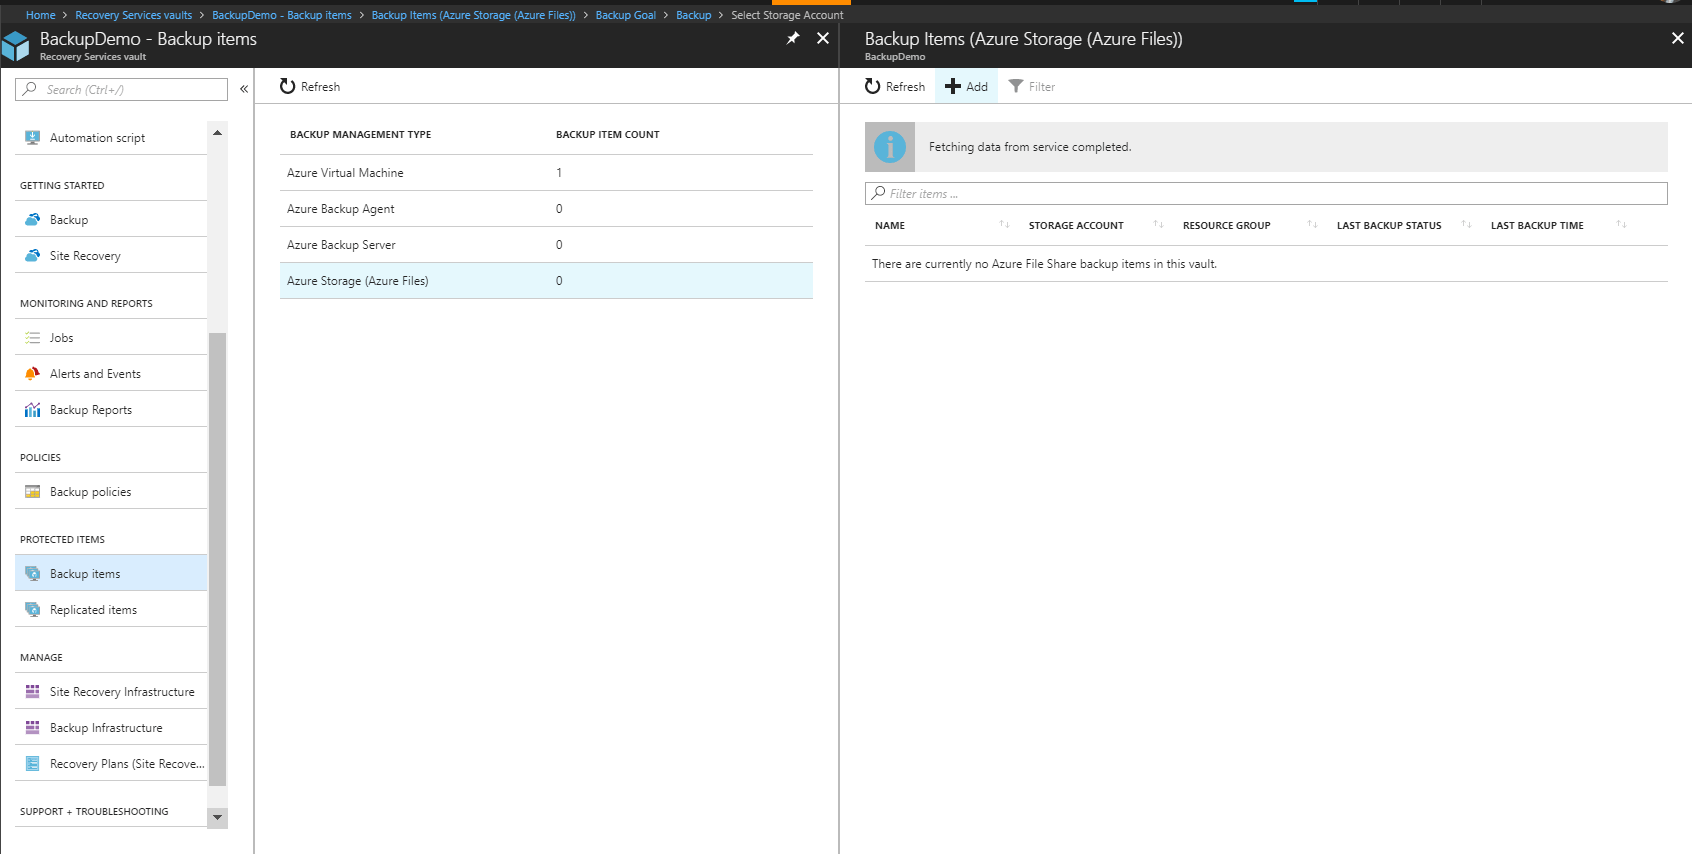
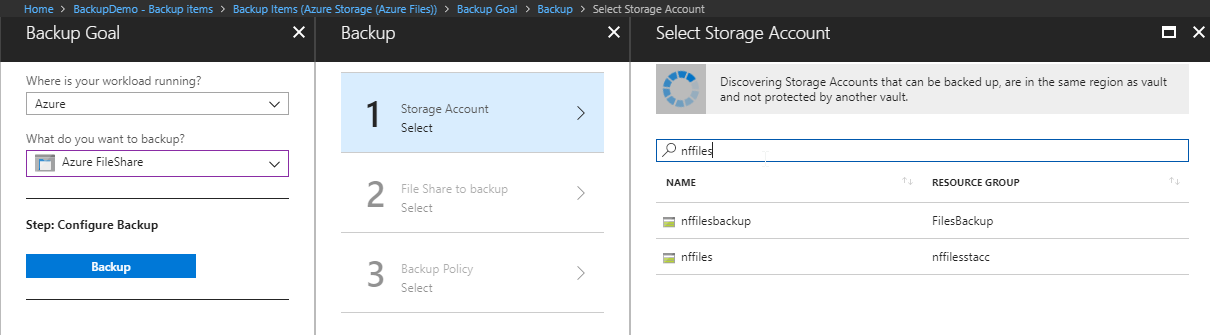
Setting up the integration is straightforward. From within your recovery services vault, you can navigate to backup items and add an Azure Files to backup.
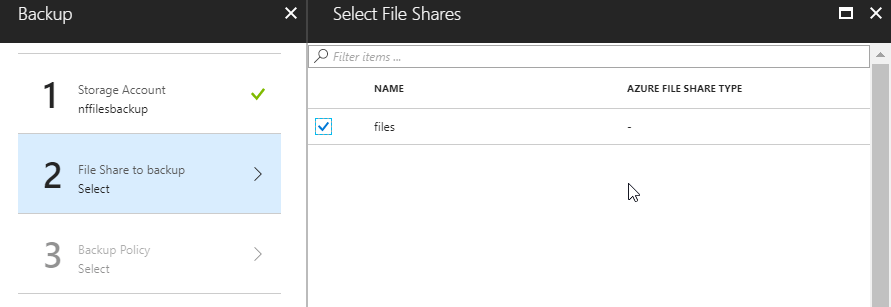
Next, you select your storage account and file share and set your backup policy. The backup policies – today – are simple daily retentions. As the integration is in preview, I would assume this will evolve over time.
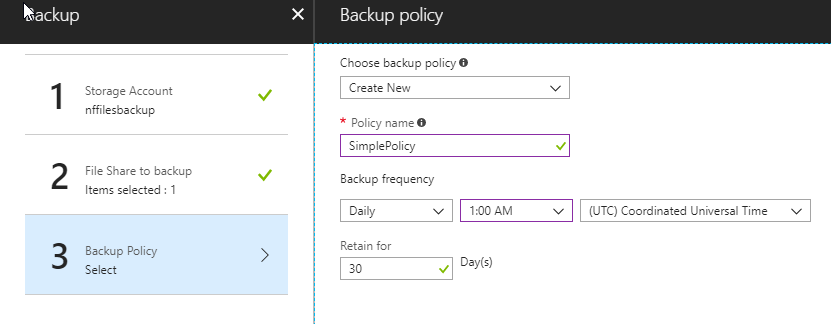
With those setting, you can go ahead and configure the backup.
Testing backup and restore
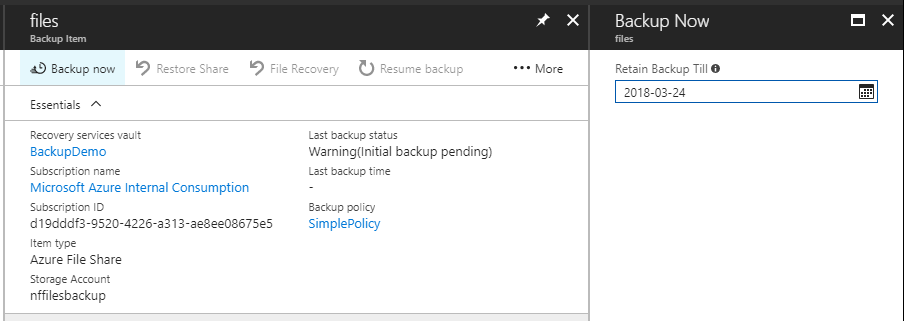
When you have a look at your backup configuration, you’ll notice a warning. This is informing you the initial backup is still pending. At this point you have 2 options, either you wait for your policy to kick in and start the back-up process, or you do a manual “Backup now”. As the backup is leveraging Azure File snapshots, this backup doesn’t take long.
Let’s now dive into our file share and see how the file restore works. I uploaded a folder with 308 files of roughly 1MB in there. To test the restore, I simply deleted the full folder, and tried restoring it using the previous versions in Windows. 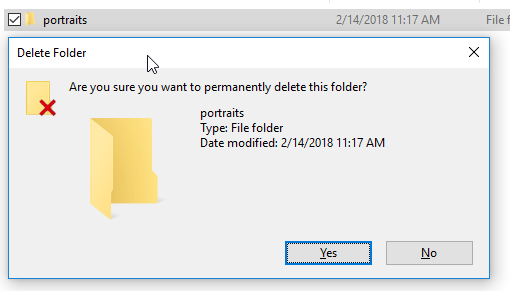
Going into previous versions shows us our backup we just took:
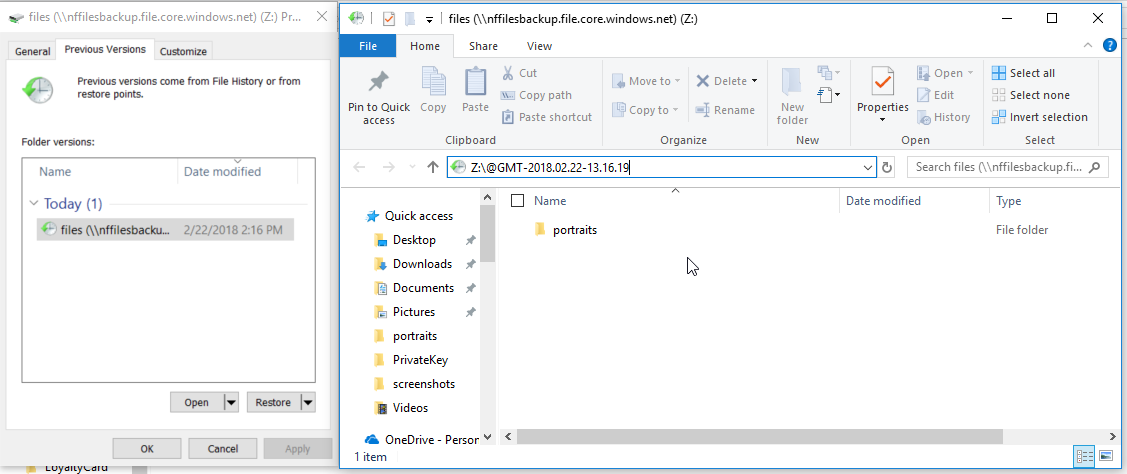
(in the screenshot above I’m showing the URL. You don’t need to type this URL, just use previous versions to get there).
A restore is as simple as either copy pasting the folder from the previous version into the current one, or hitting the restore butting in the previous versions window.
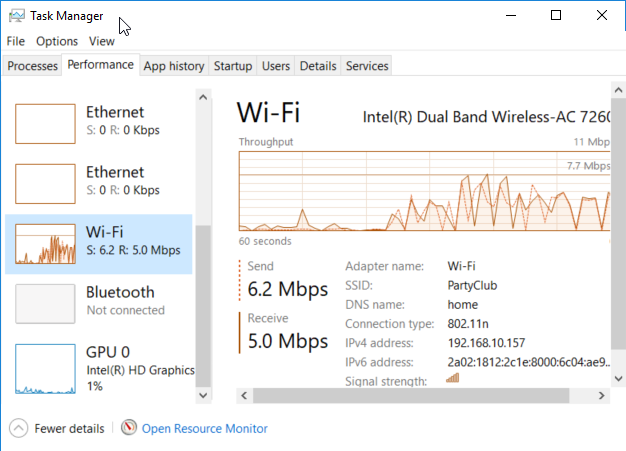
The restore itself went relatively slow on my laptop. It is downloading/uploading the files (downloading for the restore, and uploading as we’re writing directly on the file share). I would expect this to be a lot faster on an Azure VM.
Another way to do the restore is doing the restore in the Azure portal iself. This experience is also very simple to use, select your restore point, which files/folder you want to restore and what you want the restore to do (overwrite or new location). 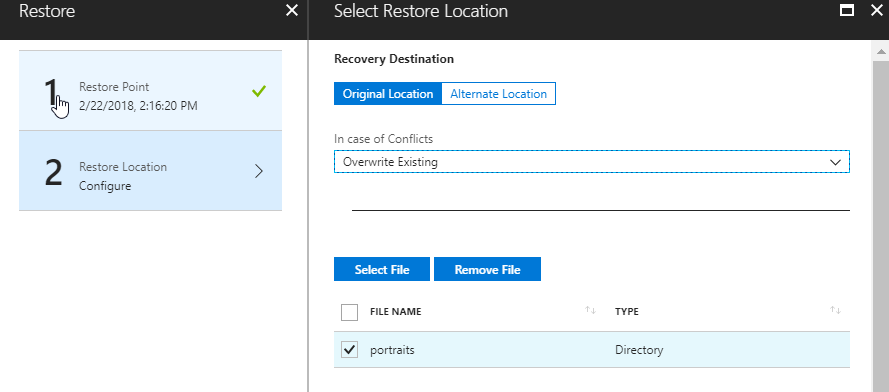
This restore went incredibly fast in my case. In less than a minute all my files were restored in the file share.
Summary
- Integration between Azure Backup and Azure Files makes it easy to have backup enabled on your cloud-based file shares.
- Retention policies are simpel daily retention points (no weekly/monthly/yearly at the time of writing).
- An end-user can restore his own files/folders by using the previous version functionality. An a workstation outside of the cloud this is quiet slow.
- An IT admin can restore files/folders by using the Azure backup console; which has fast restore speeds.