As part of my job, I work with multiple languages and multiple tools on a daily basis. Keeping environments up to date and having all the right tools installed can sometimes become a bit of a burden.
I recently started using development containers in Visual Studio Code (VS Code) to help manage this burden. Development containers in VS Code are a way to leverage containers as a remote environment with all required tools and extensions pre-installed. By using containers, you can run multiple environments on your machine without having to install the tools locally.
For example, I’m doing some development work right now in Azure PowerShell. I recently bought a new PC, where I have no tools pre-installed. I’m going to use a development container where I run PowerShell and Azure PowerShell, to do some coding work for Bellhop.
Let’s get started:
Installing the required tools
In order to get devcontainers in VScode to work, you need to install a couple of things:
- Docker Desktop (if on Windows, preferably with WSL 2)
- VS Code
- The Visual Studio Code Remote – Containers extension
To install the first two, I used chocolatey. The following two commands install chocolatey and install Docker Desktop and VS Code.
Set-ExecutionPolicy Bypass -Scope Process -Force; [System.Net.ServicePointManager]::SecurityProtocol = [System.Net.ServicePointManager]::SecurityProtocol -bor 3072; iex ((New-Object System.Net.WebClient).DownloadString('https://chocolatey.org/install.ps1'))
choco install vscode dockerdesktop -y
Now a reboot is required. After this reboot, to optimize Docker performance, installing WSL 2 is recommended. For more info on how to do this, please refer to this post.
Once WSL is setup, you also need to install the VS Code remote containers extension. To do this, open VS Code, click on the extensions icon, look for “container” and click on the install button.

And you now have the ability to open any folder in a container. Let’s start with opening an existing repo with a .devcontainer folder:
Opening an existing repo with a devcontainer definition
For this example, let’s use an existing git repository with a devcontainer definition. I’m using Bellhop for this example. Bellhop is an open source project I’m working on, and which I now want to work on from my new desktop. I created a branch with a .devcontainer definition. To get this locally, you can also use the following commands:
git clone https://github.com/Azure/bellhop.git
cd bellhop
git checkout devcontainers
code .
These commands will work either from within Windows or from within WSL.
The moment you open this folder in VS Code, VS Code will detect the .devcontainer folder, and will ask you reopen this folder in a container:
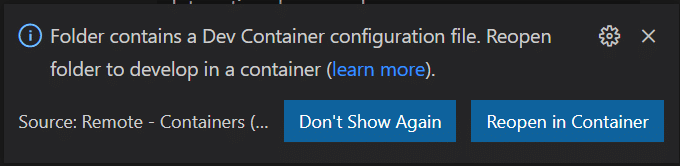
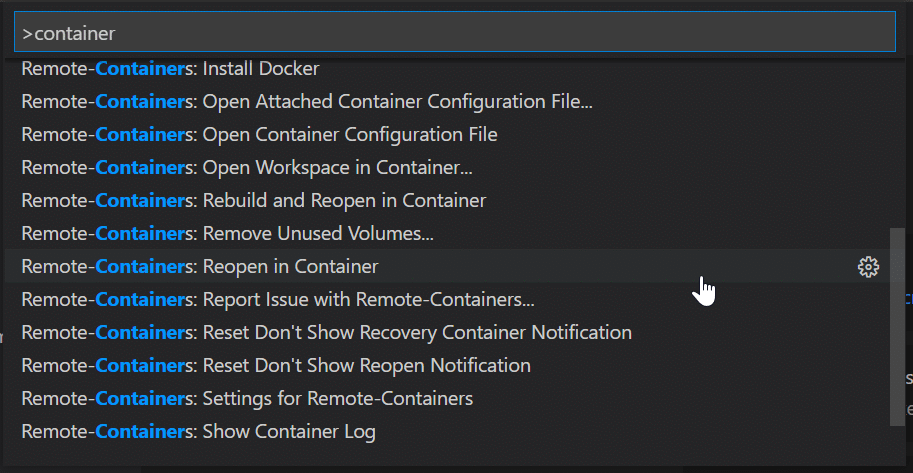
If you didn’t get this notification, you can also get here by opening the command pallet in VS code (CTRL + SHIFT + P) and looking for the action “Remote-Containers: Reopen in Container…”
This will cause VS Code to build the container if this is the first time you’re opening this repo in the container. If you open the repo again, it will use the same container you used previously, avoiding the time required to build the container.
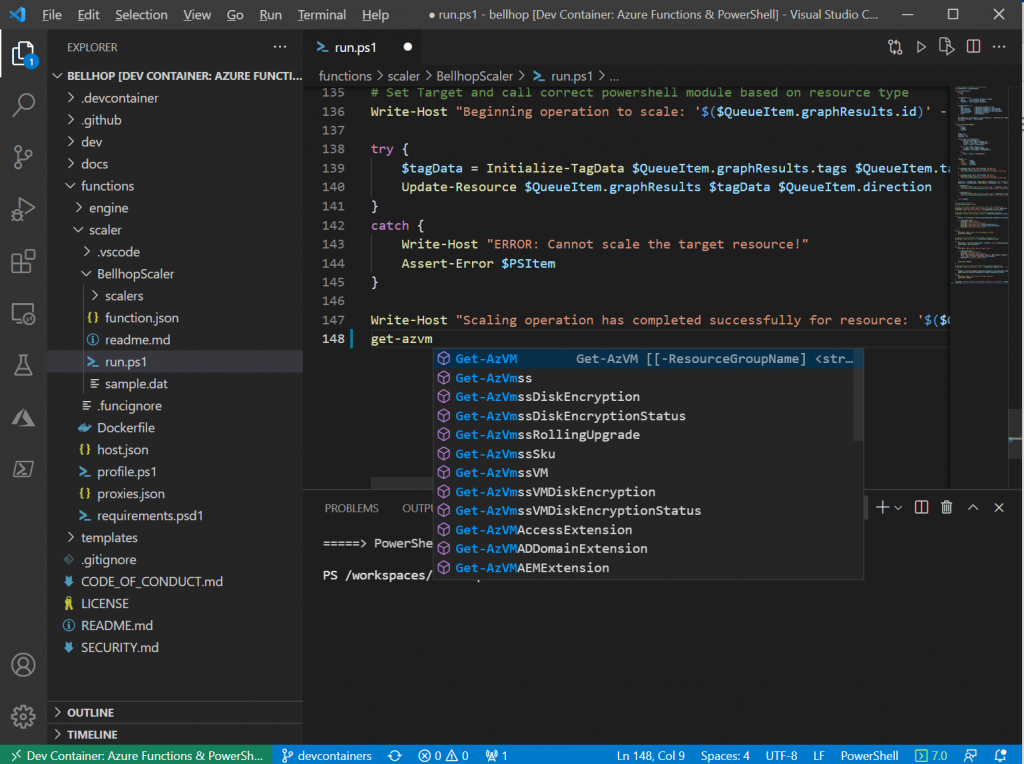
And once you reopen an existing repo in the container, all tools are installed for you. In the case of the Bellhop container definition, this includes Az PowerShell and Pester, as well as the PowerShell extension for VS Code. As you can see below, this leads to intellisense being available and a Powershell terminal automatically opening as well:
The Bellhop repo contains a devcontainer definition already. But what if you don’t have one ready? I’ll cover that in the next section.
Creating a new devcontainer definition
To create a new devcontainer definition you can use one of two options:
- Write definition from scratch.
- Start from a template and edit as needed
I prefer option (2) as it comes with some prebuilt containers. Let’s explore it here and let’s try to make a container with Python and the ability to edit Jupyter notebooks.
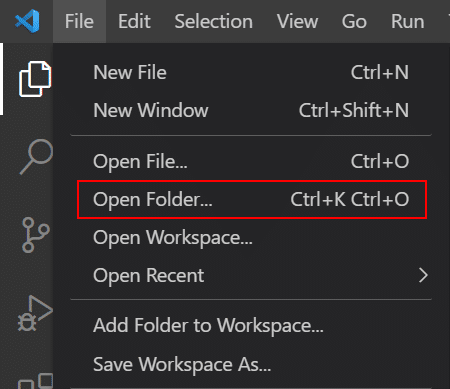
To start, we’ll need to open a new folder in VS Code. To open a new folder, use the File menu and click open folder and select a new folder.
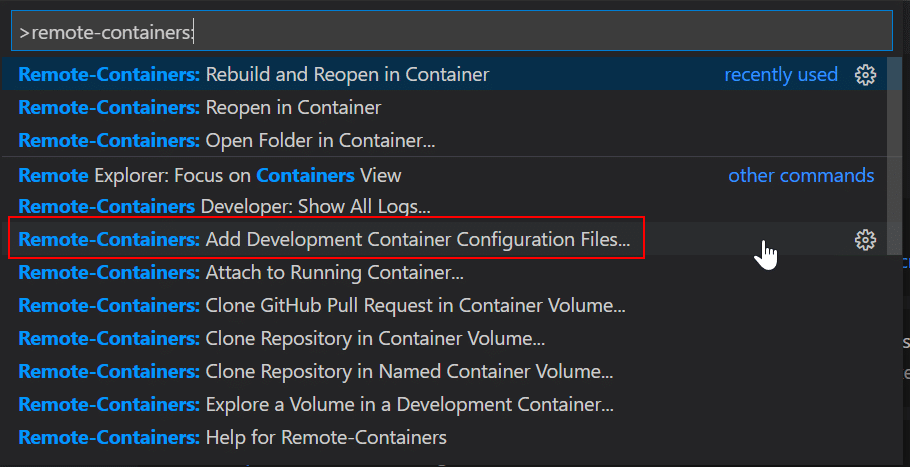
Next, open the VS code command palette by clicking CTRL+SHIFT+P. In this palette look for the “Add Development Container Configuration Files” option.
Next, you’ll want to scroll down and select the “Show All Definitions” option:
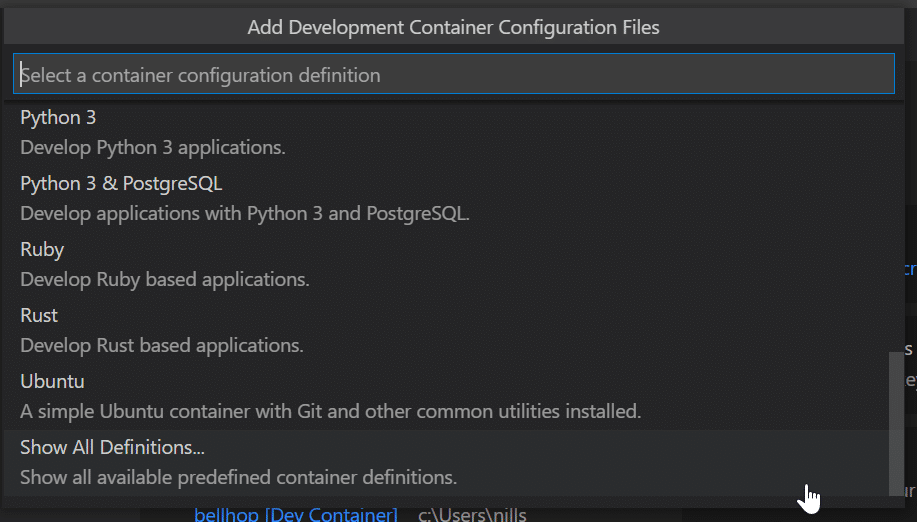
In that view, you’ll see a big list of predefined devcontainers. Look for the one called “Anaconda” and select that.

This will open the devcontainer.json. You don’t need to make changes to this, you can now build the container. To do this, open the command palette again (CTRL+SHIFT+P) and select the “rebuild and reopen in container” option:

This will build the devcontainer, which will take a couple of minutes.
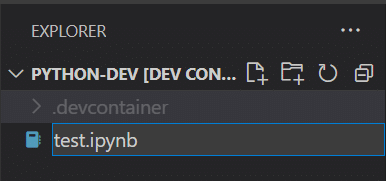
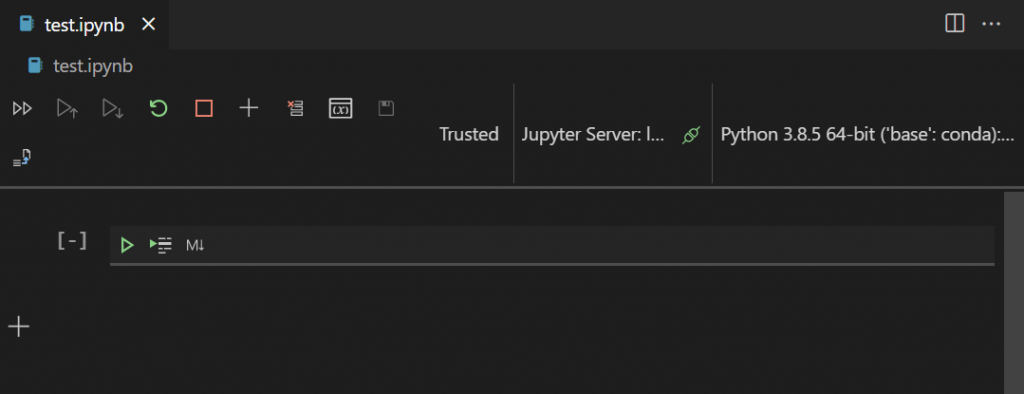
Once the container is built, we can try if Python and Jupyter work well. To do so, let’s create a new notebook called “test.ipynb” (make sure to match the file extension):
The moment you open this file, you’ll notice that VS Code automatically launches it in a Jupyter notebook editor:
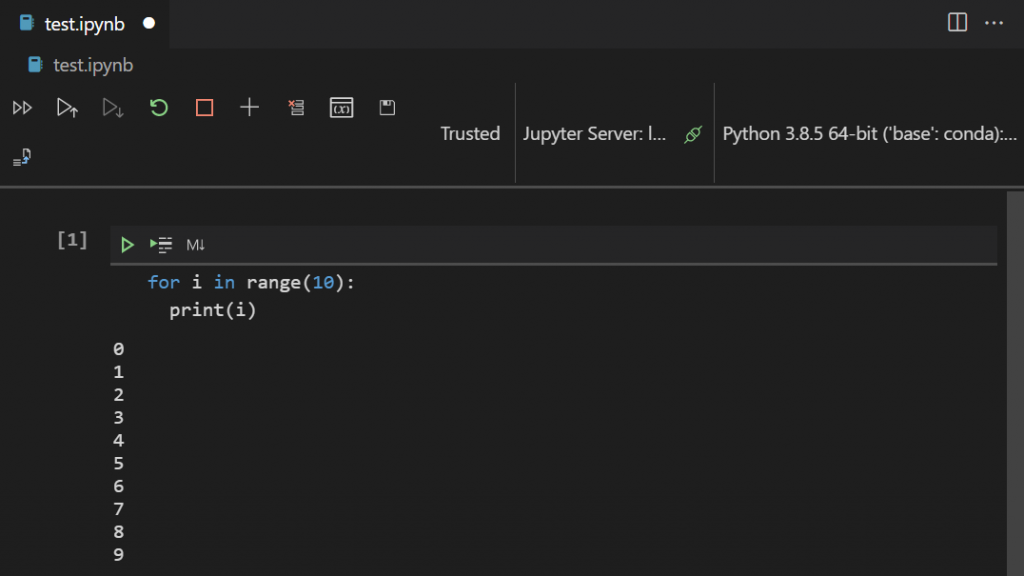
And you can work with this as any other notebook. Try for instance to make a small Python loop:
for i in range(10):
  print(i)
Which you can execute by pressing CTRL+ENTER or use the play icon in the top bar. As you will see, this executes in Python flawlessly:
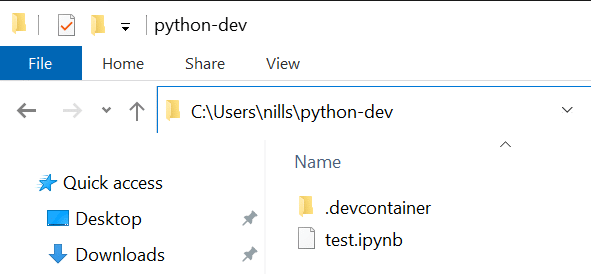
One cool thing with devcontainers is that the files are still stored locally on your disk, not in the container. For example, for this Python development work, I created a folder in Windows, and opened that in the devcontainer. The file I created in the devcontainer is present on my local disk:
And now that you have a working devcontainer, you can make changes to either the Dockerfile or the devcontainer.json to customize your environment.
Summary
In this post I showed you how to create and use VS Code devcontainers. They are amazing! You can work with any tool, any language without having to install anything locally (OK, you need VS Code and Docker). Once you launch a container, you have all the tools, VS Code extensions, intellisense available as if it were installed on your local machine.