Lately, I’ve been learning more about Azure Arc. As part of this learning, I’ve been contributing to a great GitHub repo that contains a number of example scenarios for Azure Arc. Most of these examples are fully automated, so you can learn about Arc even more quickly.
My last learning experience was how to leverage Azure Arc to configure GitOps on a Kubernetes cluster. GitOps is a new way to perform continuous delivery, where new versions of an application are pulled rather than pushed.
In this post, I want to explain how you can leverage Azure Arc to implement continuous delivery on your Kubernetes clusters.
How does this work?
GitOps is a way to perform continuous delivery. Compared to traditional continuous delivery systems, GitOps works by pulling new configuration rather than pushing new configuration. Configuration is pulled from a git repo that is monitored by a process running in a cluster.
There are two popular GitOps systems out there today: Flux and ArgoCD. Azure Arc uses Flux under the covers as the mechanism for continuous delivery. Let’s have a look at how this works:
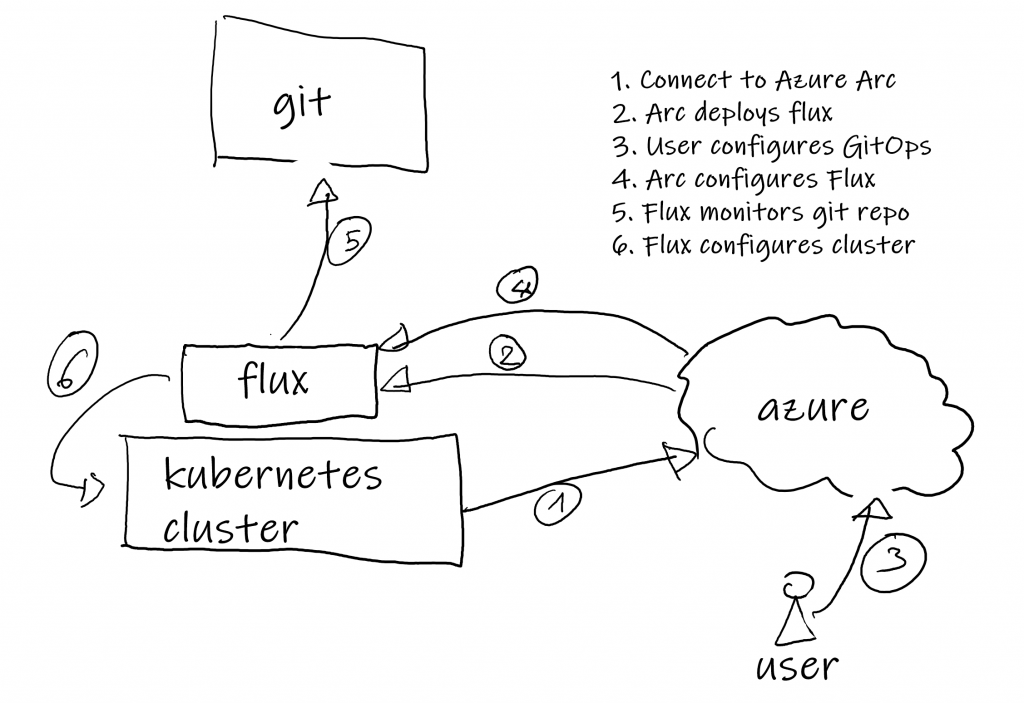
Without getting in too much details, this is how the process works:
- You connect your Kubernetes cluster to Azure Arc. If you want to see an example of this, check out my earlier post.
- In the process of connecting to Arc, Arc deploys flux on your Kubernetes cluster.
- Users configure GitOps configurations in Azure Arc. This can be done in either the portal, through the CLI or even by using Azure Policy.
- Arc will configure Flux with the necessary GitOps config. Each configuration is deployed as an individual operator on the cluster.
- Flux will monitor the Git repo configured through the GitOps process.
- If there are any updates to the configuration in Git, Flux will deploy that updated configuration on the Kubernetes cluster.
The configuration for GitOps can either be plain Kubernetes YAML files or Helm charts. Using Helm with GitOps can help keeping the amount of configuration files under control. That is because Helm allows you to use the same chart across dev/test/prod, but have different configurations.
Now that we covered what this looks like, let’s have a look at this in action.
GitOps in action
To get this setup, I’ll be using the following setup:
- Azure Kubernetes Service based cluster. (btw. this works with clusters everywhere, as long as they can make connections to Azure)
- Application configured in this git repo.
As part of this demonstration, we’ll configure two GitOps configs, in order to demonstrate two different levels of configurations:
- Cluster-level config: In the demo we’ll deploy an Nginx ingress controller. This is a cluster level component. Cluster-level GitOps configs are common for horizontal components, like security tooling, monitoring solutions…
- Namespace-level config: In the demo we’ll deploy a small demo application. This will be a namespace level configuration. Namespace level configurations are most commonly used for the actual applications that are being deployed.
Let’s start with creating the cluster and connecting it to Arc:
Creating an AKS cluster and connecting it to Arc
Let’s create a new AKS cluster, and connect it to Azure Arc. Let’s do this using the Azure CLI (you can do this either in Cloud Shell or on a local system):
rgname=arcgitops
aksname=arcgitops
location=eastus
az group create -n $rgname -l $location
az aks create -n $aksname -g $rgname -l $location
az aks get-credentials -n $aksname -g $rgname
az connectedk8s connect -n $aksname -g $rgname
Execute the commands, grab a cup of coffee and wait for about 5 minutes (yeah, AKS deployment times have really improved, it has been consistently about 4-5 minutes for me lately.)
Head on over to the Azure portal and you should see two cluster objects in the portal: one is the actual AKS cluster, the other is the Arc connected Kubernetes cluster configuration. Open the Arc connected Kubernetes cluster.
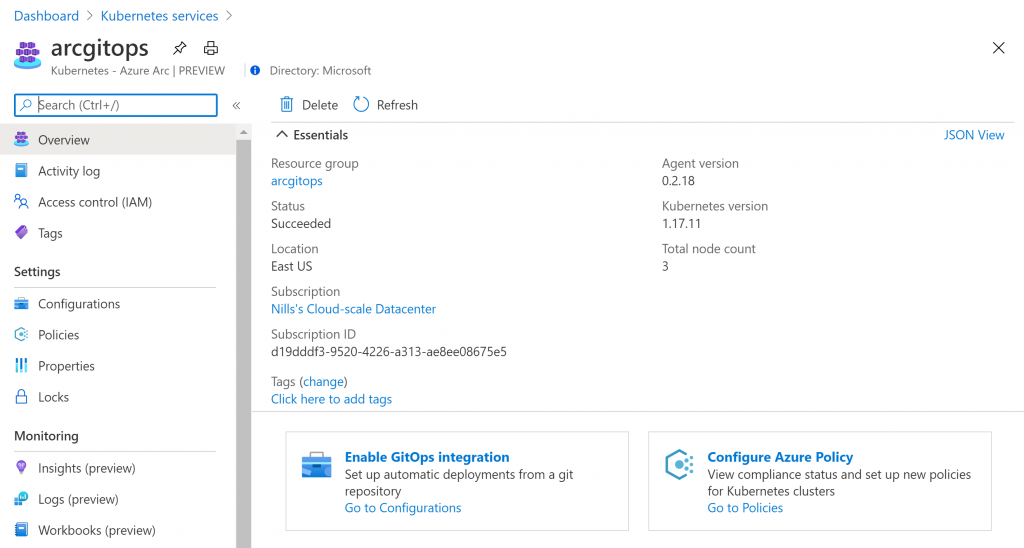
Once that is done, and you see the arc cluster, we can move ahead and do the GitOps configuration:
Setting up GitOps configuration
Let’s now go ahead and configure GitOps. Let’s start with the namespace level configuration:
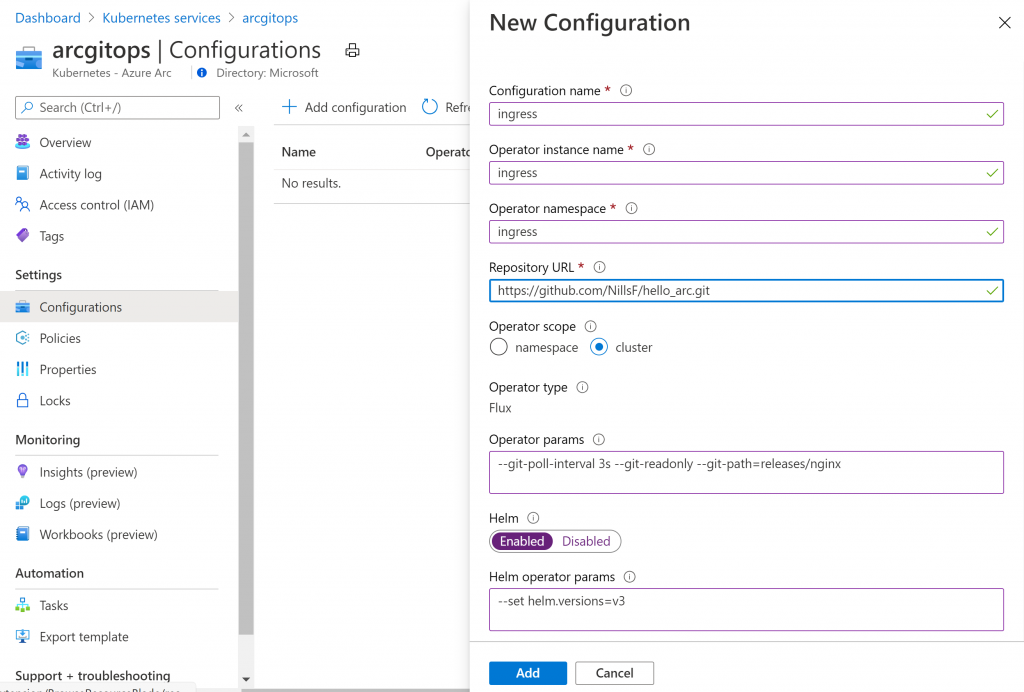
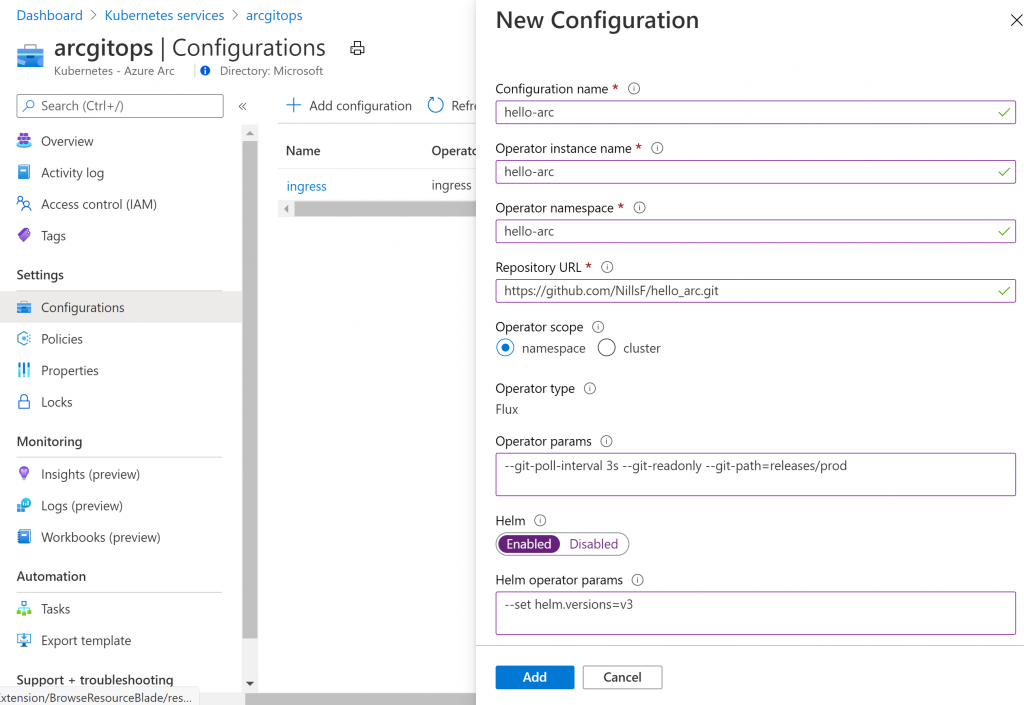
What we’ve done here is the following:
- Configured the configuration name, operator name and namespace.
- Pointed to the Git repo containing the GitOps config
- Provided a couple of additional parameters, setting the refresh interval, pointing the right path for the config, and setting helm to use helm v3.
You can create this by hitting the add button. While this is deploying, let’s have a look at the GitOps config that is part of the git repo:
apiVersion: helm.fluxcd.io/v1
kind: HelmRelease
metadata:
  name: nginx-ingress
  namespace: cluster-mgmt
spec:
  releaseName: nginx-ingress
  chart:
    git: https://github.com/likamrat/hello_arc.git
    path: charts/nginx-ingress
    ref: master
  values:
    image:
      repository: quay.io/kubernetes-ingress-controller/nginx-ingress-controller
      tag: "0.32.0"
    replicaCount: 3
As you can see from the code above, this GitOps config contains the following:
- Points to a Helm chart in a git repo. In this case, just to show that this works, I pointed this to a different repo than the repo hosting the GitOps config itself.
- Contains values to overwrite default Helm values. This shows the power of using Helm as part of the GitOps release.
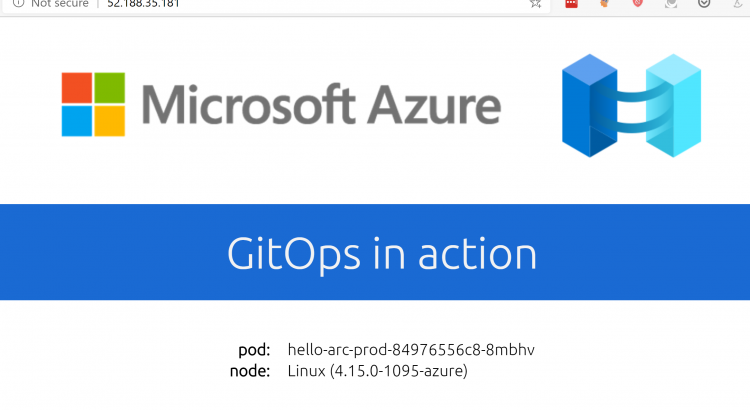
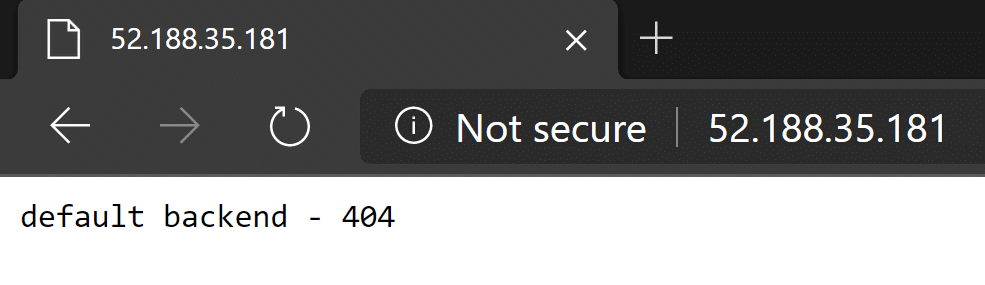
Give it a couple of minutes for the ingress controller to deploy, and then you should be able to see the public ip of the service of the ingress controller using kubectl get svc -n ingress -w. This returns a “default backend – 404” message, totally expected for now.
Next up, deploying the actual application:
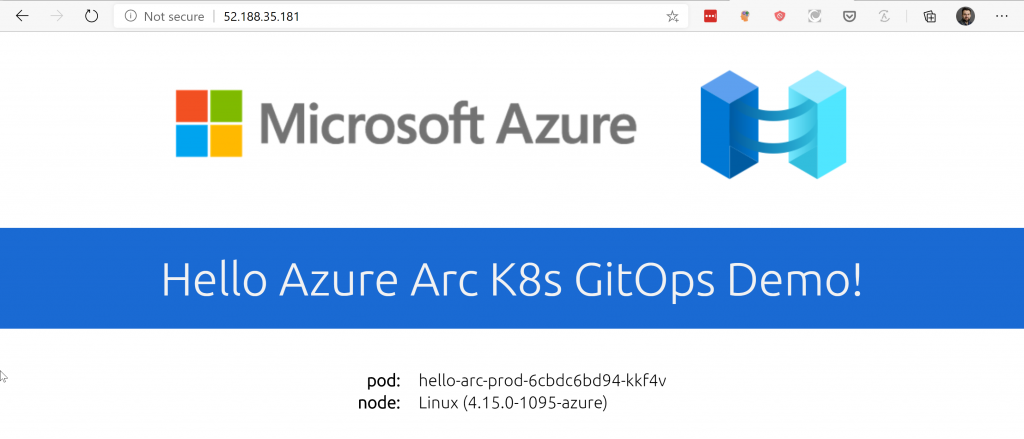
As you can see, this configuration is pretty similar to the previous config. The main difference is that this is a namespace deployment and the git-path changed to a different config file. Deploy this configuration, and watch the hello-arc namespace: kubectl get pods -n hello-arc -w. Once the application is deployed, you can surf to the IP address of the ingress controller again, and see that the application is now deployed:
Now, what we’ve seen is just a single configuration pull. The power of GitOps is in the fact that configuration can be frequently updated. Let’s see this in action.
GitOps application updates in action
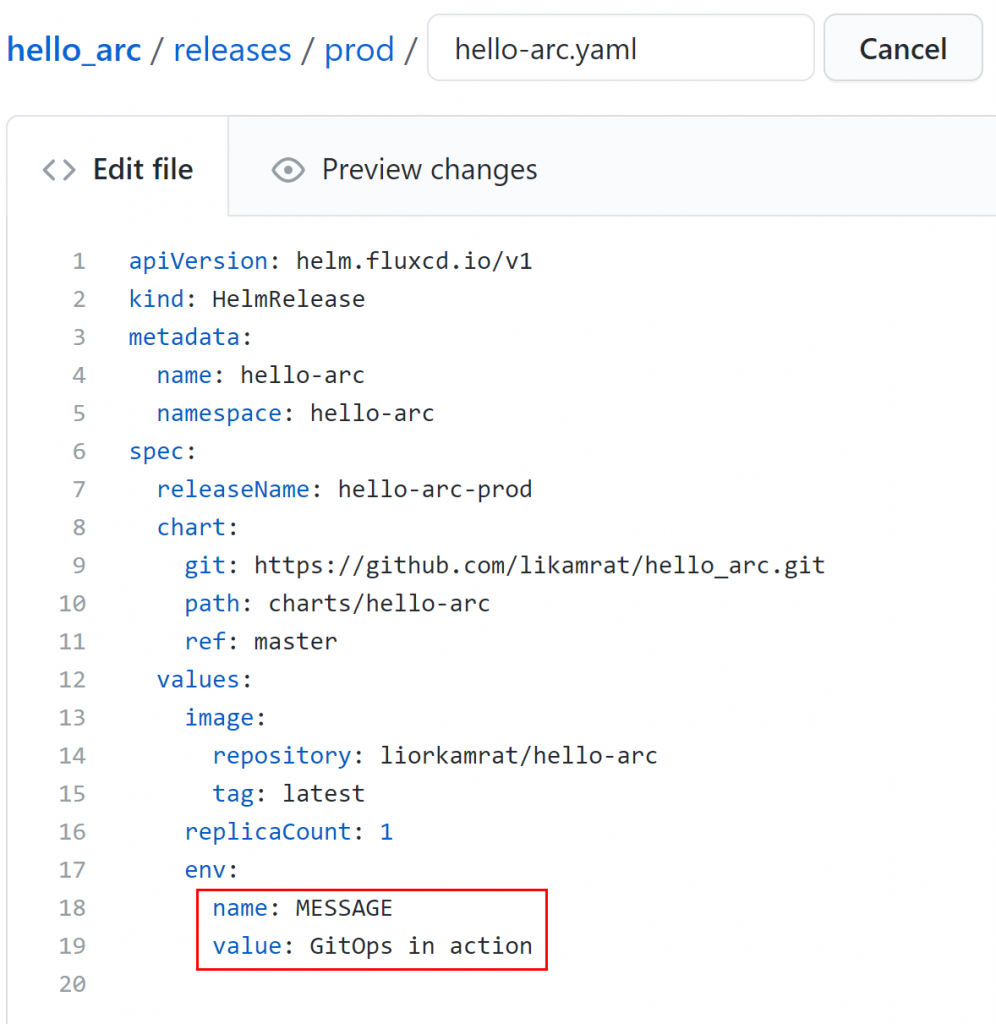
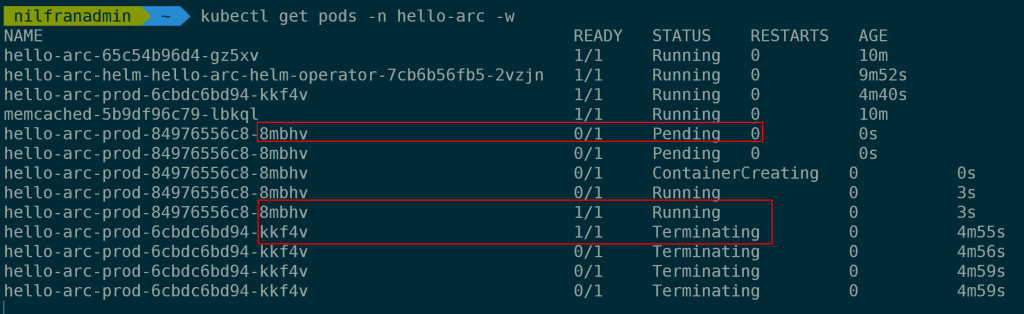
Let’s make a small change to our GitOps configuration. In my case, I’ll update the message on the website. Before we hit the commit button, make sure to run a kubectl get pods -n hello-arc -w.
In the terminal, we can very quickly see a new pod appear, and once that is running, we see the old one getting terminated.
And once that is done, if we browse to the webpage, we can see the updated webpage running:
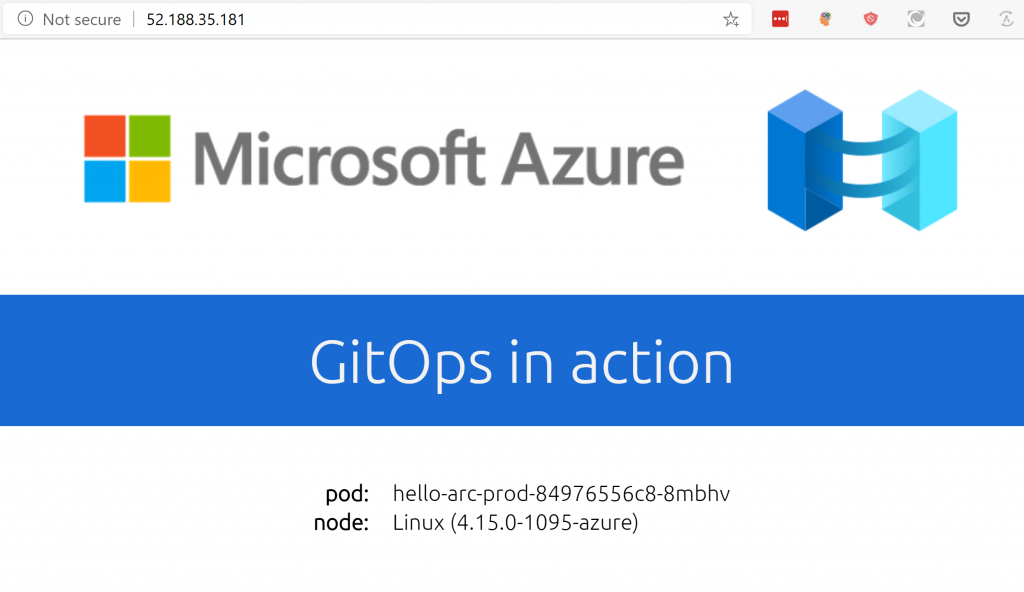
And that’s the power of GitOps in action.
Summary
In this post, we explored GitOps using Azure Arc. We configured two applications that were deployed to our cluster. Afterwards, we made a change to our application, and saw how the application on our cluster was updated.