I did some work with a customer last week to integrate Functions with Key Vault without using the public IP of the Key Vault. This setup worked perfectly, although there were a couple of steps involved. To document those steps, I decided to write this post.
In this post we’ll build a new Azure Function and a new Key Vault. We’ll integrate the Function in our VNET using VNET injection, we’ll integrate the Key Vault into our VNET using Private Link and then connect the two. There’s a little bit of extra configuration on the Function that we’ll have to do to make it use the DNS private Zone to get the right IP address for Key Vault.
For reference, here is some good documentation about what we’re setting up:
- Azure Functions VNET integration. (important bit here is that this requires premium functions). There’s two ways Azure Functions can integrate with a VNET:
- VNET Integration: This is useful when the Function needs to connect to another resource in our through the VNET (like we’re doing with Key Vault). This is for connections FROM your function.
- Private Endpoints (preview right now): This is useful to protect your function and only make it available for resources in the network. This is for connections TO your function.
- Azure Key Vault Private Link
- Azure Functions, use Private DNS Zones
So, in terms of workflow this is what I’m planning to implement in this post:
- Create Azure Function and Key Vault
- Give managed identity to Azure Function.
- Have function query public Key Vault to verify things work.
- Integrate Key Vault using PrivateLink and function using VNET integration.
- Configure Azure Function to use Private DNS Zone.
- Have function query private Key Vault to verify things work
So, let’s get started!
Create Key Vault and Azure Function.
In this section, we will create the function and the key vault. Let’s start with the function. Look for functions in the Azure search bar, and hit the create button. The first blade asks for some details. In this case, I’ll be running a Python based function.
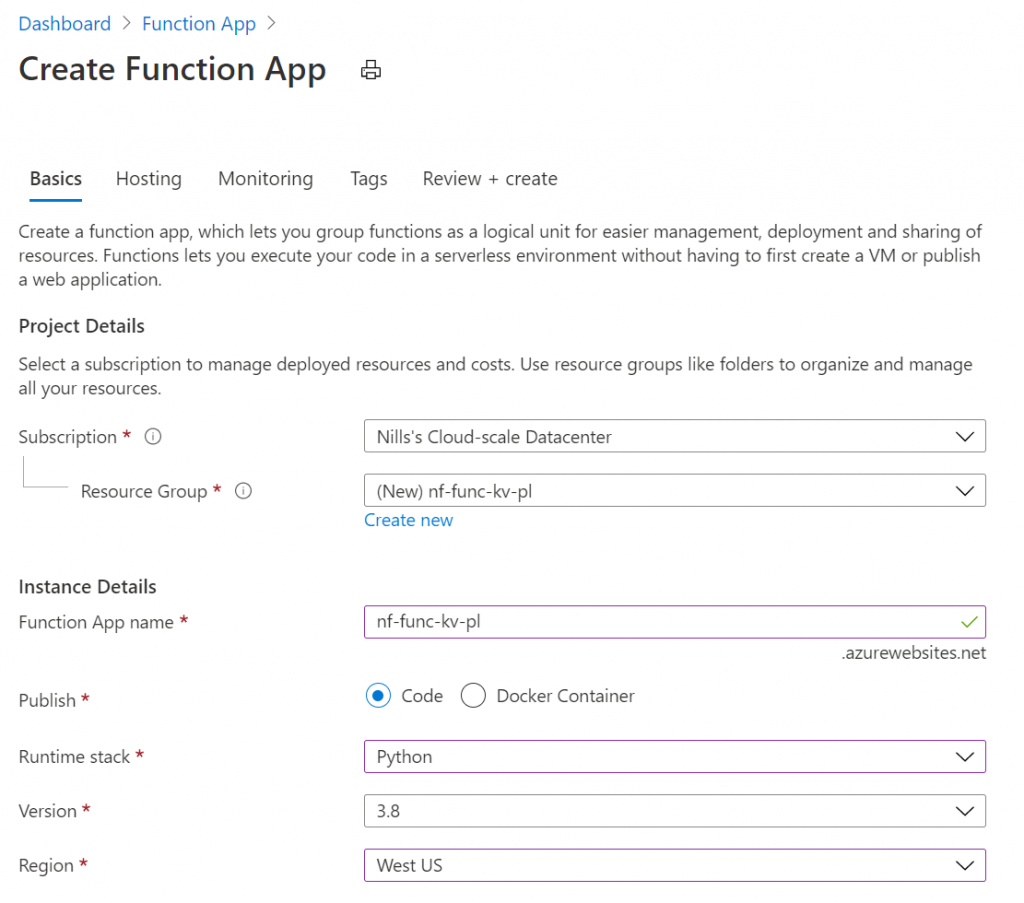
Next, we’ll need to create the hosting plan. The plan needs to be Premium to work with VNET integration. I’ll stick with the EP1 size, to run this in the cheapest way possible:
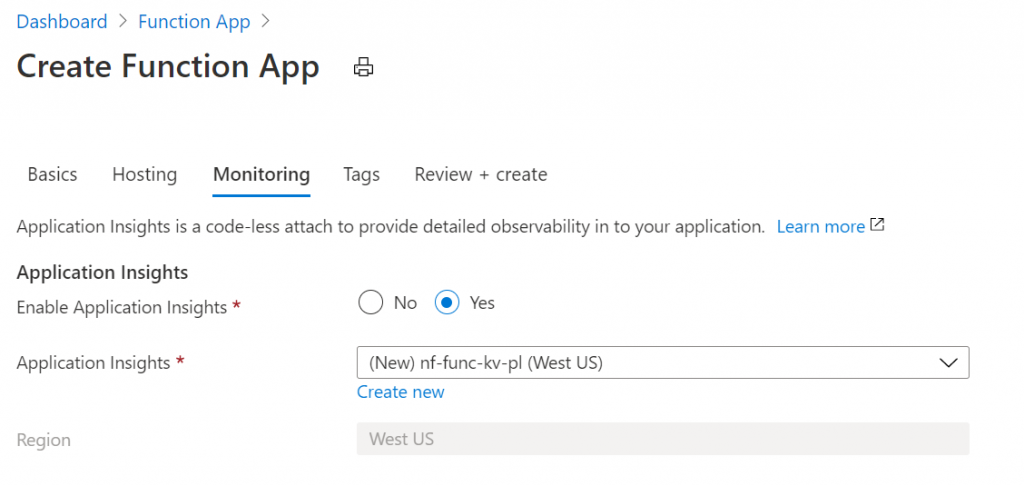
I will enable application insights, to have access to logs in case I need them:
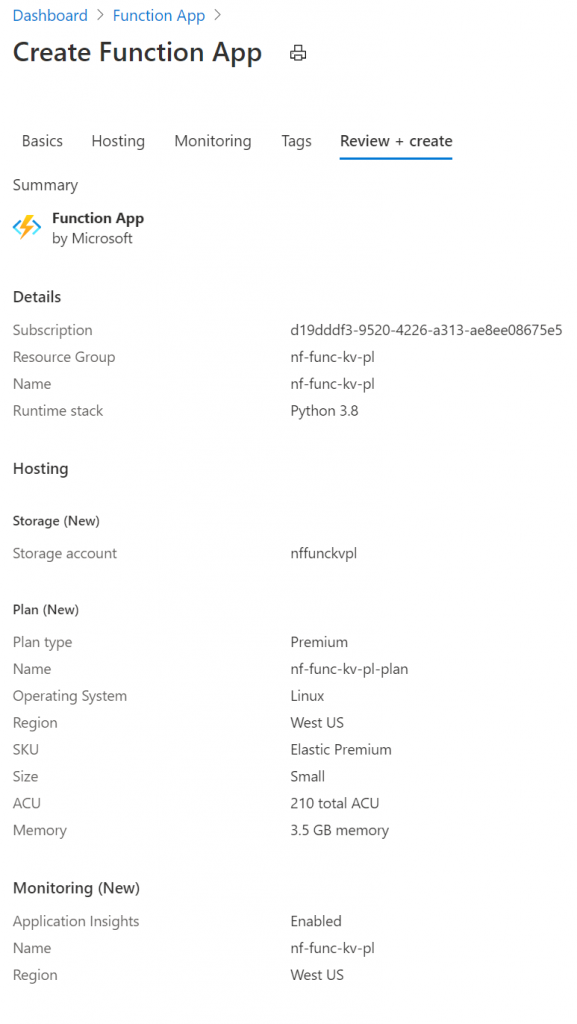
And finally, review and create (I’m not tagging for now)
While this is running, let’s create our new Key Vault. We’ll create this in the same region and the same resource group.
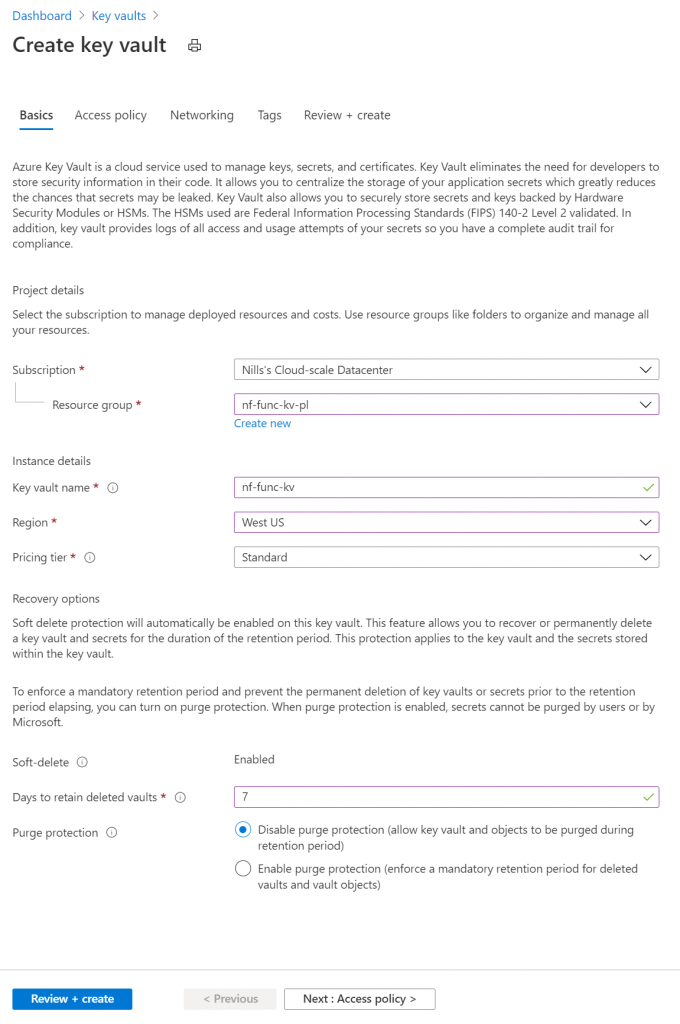
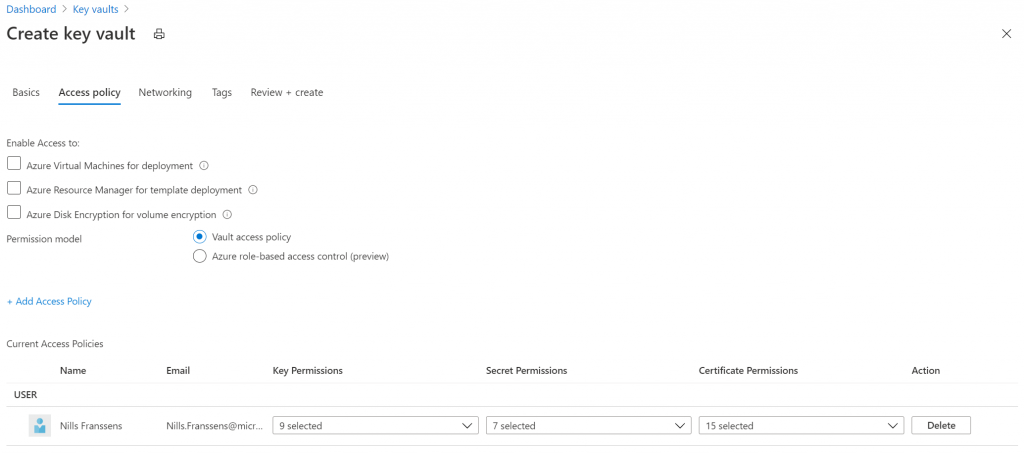
Next up is access policies. We won’t touch this now, we’ll touch this later on once our Function has a managed identity.
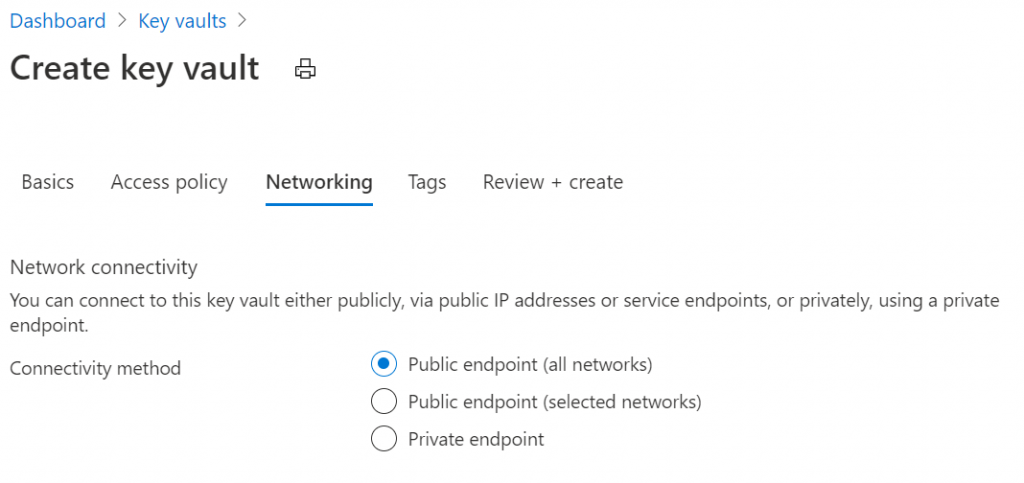
For now, we’ll also not touch networking and default to the public networking. I first want to make sure public networking works (to ensure the code works), and then we’ll switch to Private Link.
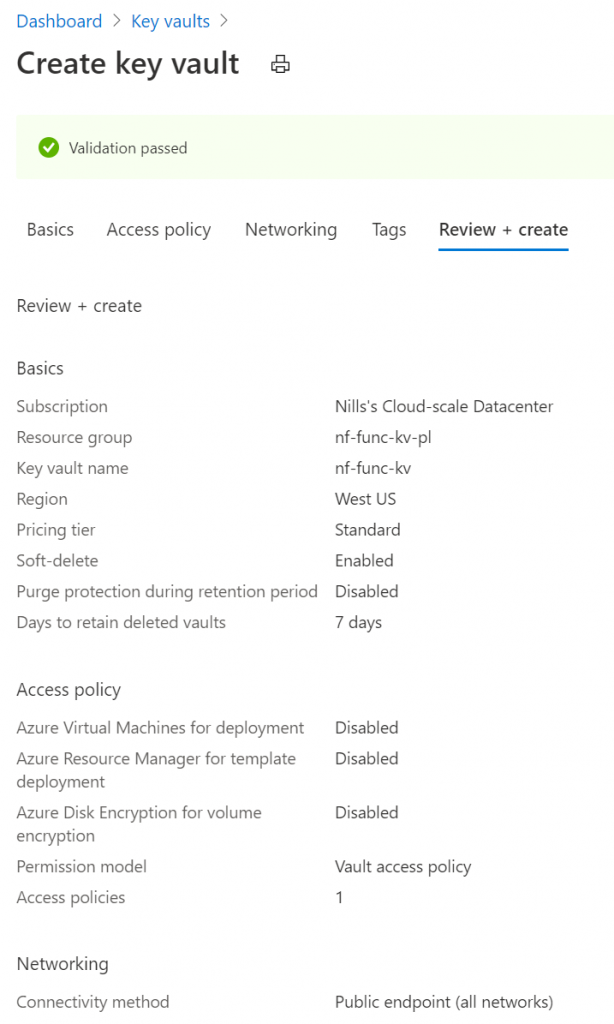
Then we’ll review and create, and create the Key Vault.
Let’s now wait for all of this to create (should take about a minute to finish), and then we can move to the next step.
Give managed identity to Azure Function.
In this section we’ll do two things:
- Give our Function a managed identity.
- Give that managed identity permissions on Key Vault.
- Create a secret in Key Vault.
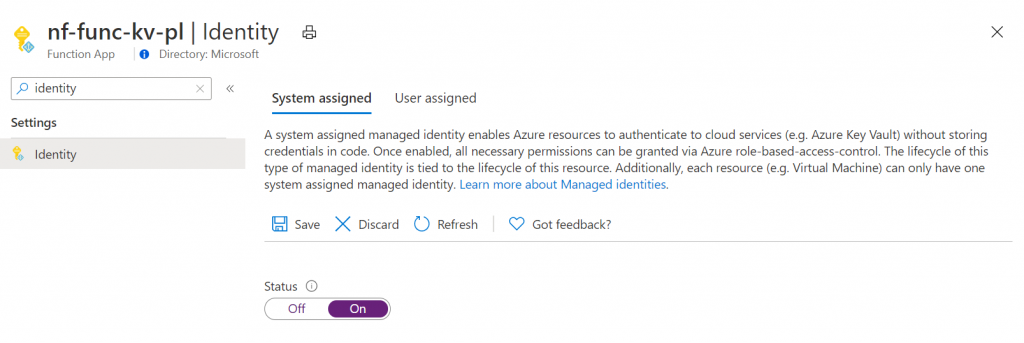
Let start with the first thing, giving the managed identity to Key Vault. To do this, open the function in the Azure portal, and in the left hand navigation look for identity. I’ll stick with System Assigned identity for now, but this also works for user assigned identities:
Once the identity is created, the blade will change to this:
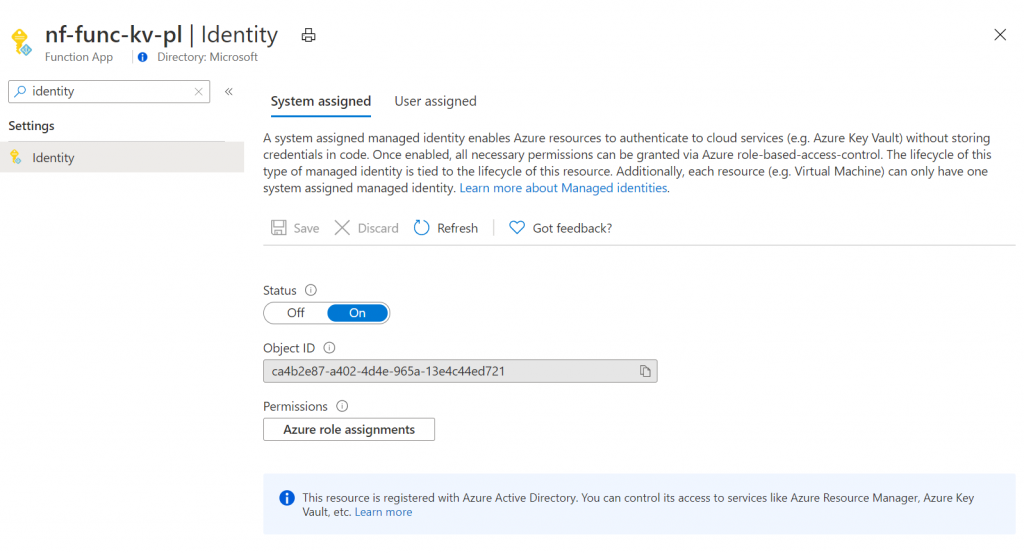
To make things easier, copy the object ID. We’ll need this in the next step, giving access to key vault.
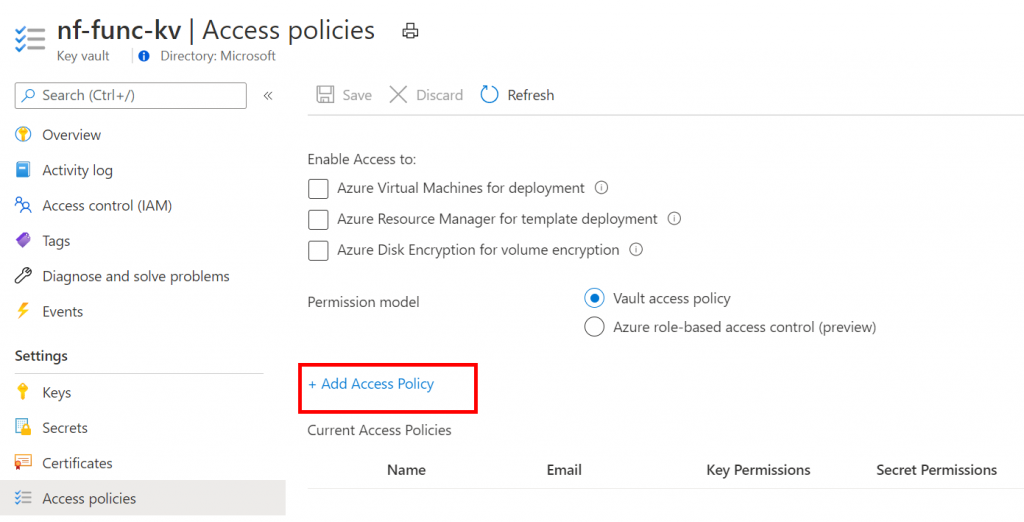
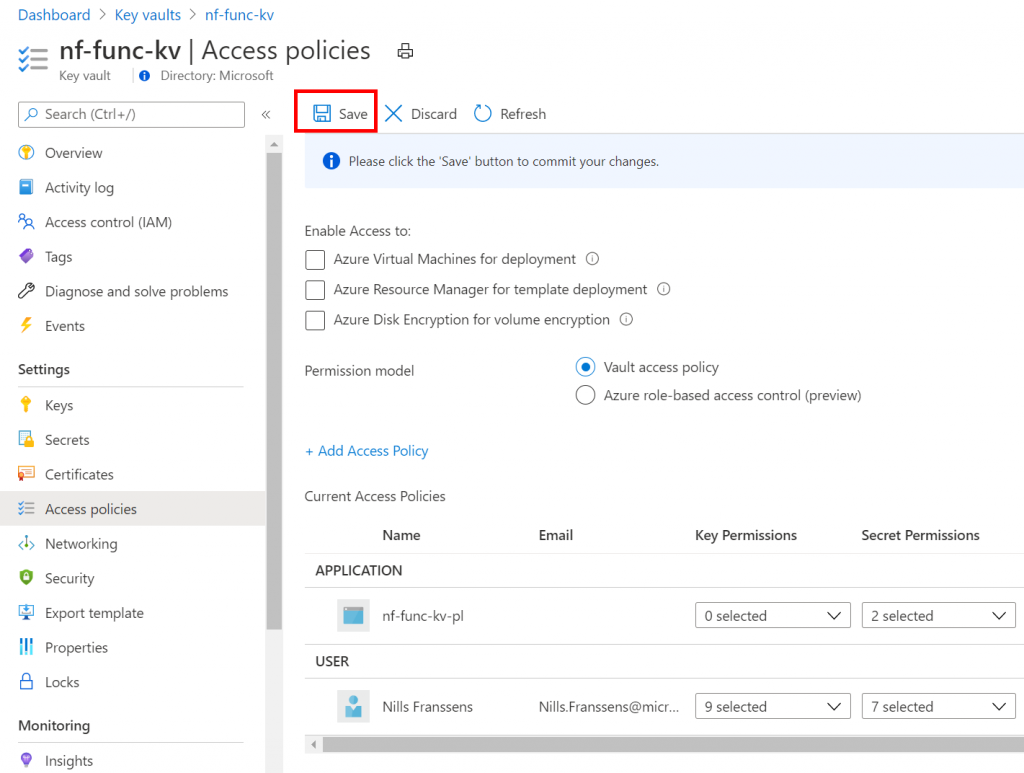
To give access to key vault, open the key vault and open the access policies. Click the “+Add Access Policy” button here.
Here, I’ll give get and list secrets permissions to my managed identity.
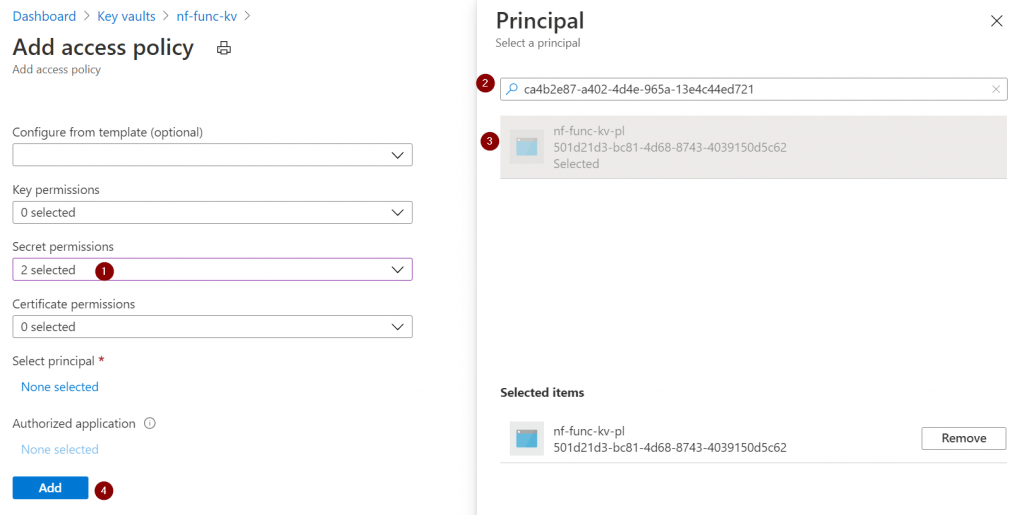
Once this is done, don’t forget to hit the save button on the access policies.
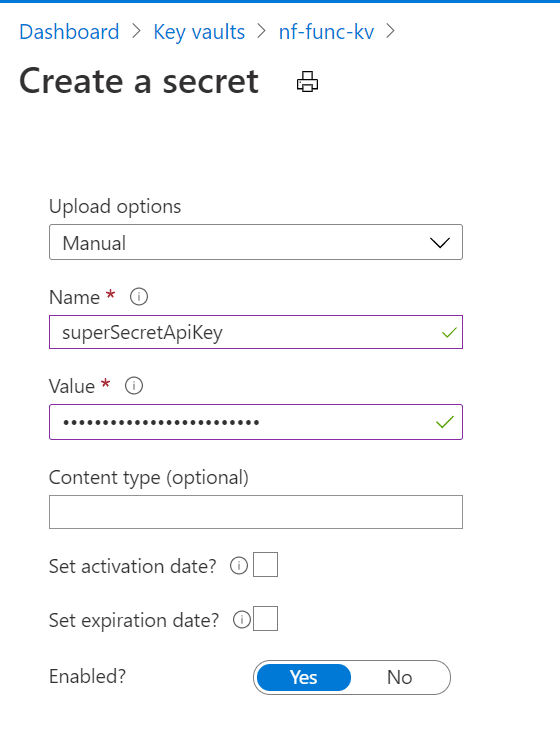
With that out the way, let’s create a secret. Click on secrets on the left, and create a new secret.
And with the secret created, we can switch over to the function and try to get the secret through code.
Have function query public Key Vault to verify things work.
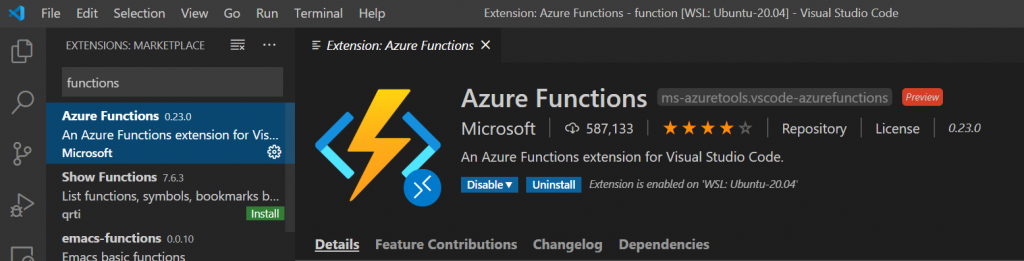
I’ll be doing the functions development locally in Visual Studio Code, and push the Function once it’s ready. To do this I run VSCode in WSL2, and installed the Functions extension.
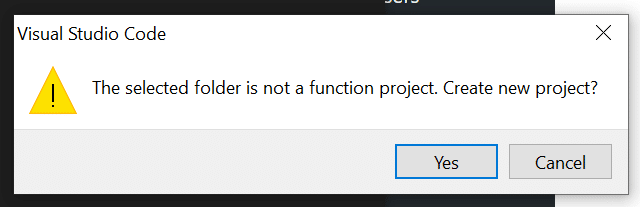
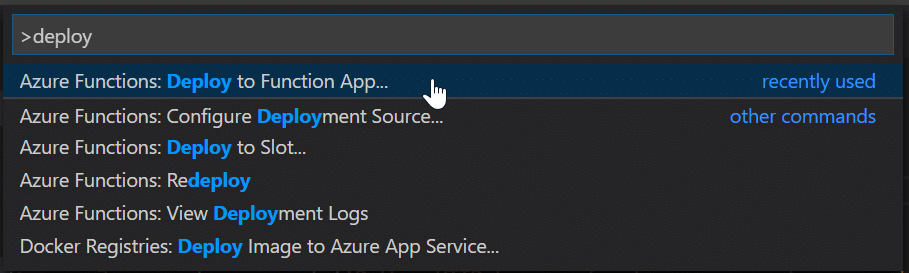
First up, we’ll create a new function locally. To do this, open the command palette (CTRL-shift-P) and look for Azure Functions: create Function…

You’ll then get a popup to create a new project, select yes.
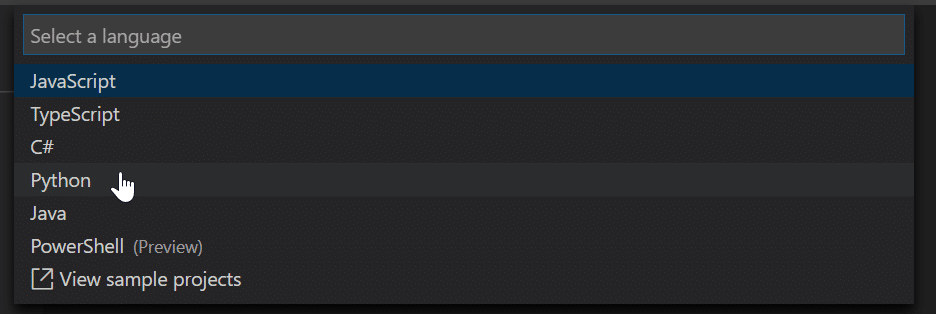
Language will be Python:
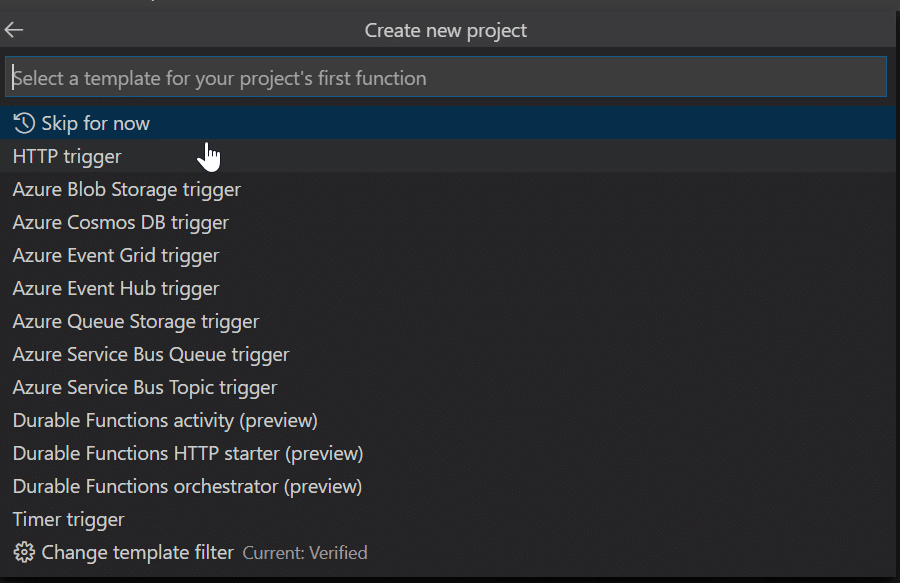
As a trigger we’ll pick HTTP trigger.
We’ll call this HttpTrigger1:

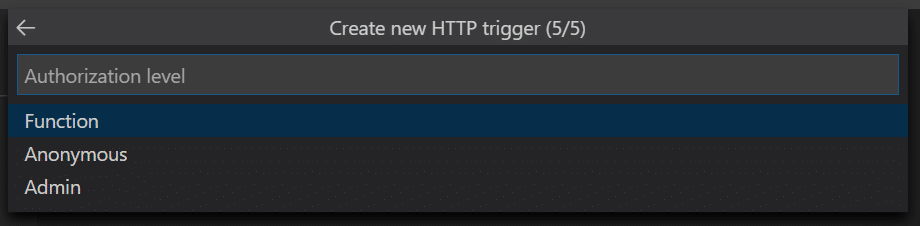
And we’ll use Functions authorization
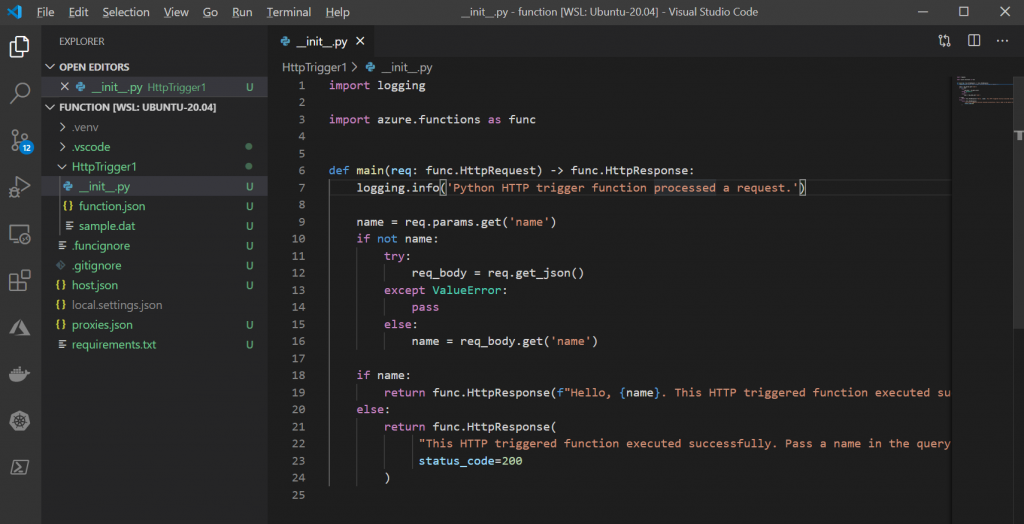
This will create the Azure function locally. You’ll see a number of files and a very simple function.
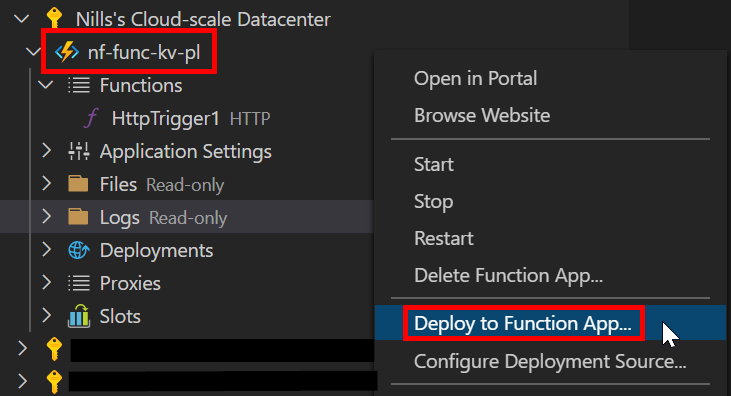
Let’s deploy this “raw” function to Azure, to see if everything is working as expected. To deploy to Azure, open the command palette again (CTRL+shift+P) and look for Azure Functions: Deploy to Function app…
If you’re not logged into an Azure account, it’ll ask you to sign in.

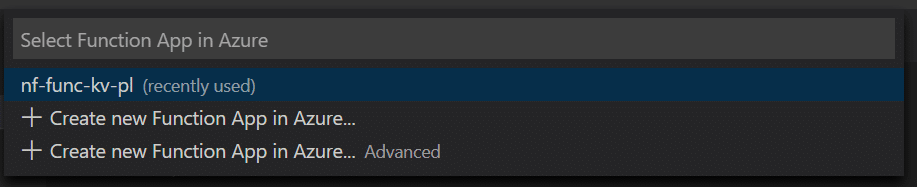
After logging in, select your subscription. Then, select the function we created earlier:
This will throw a little warning about overwriting the current function, click Deploy here.

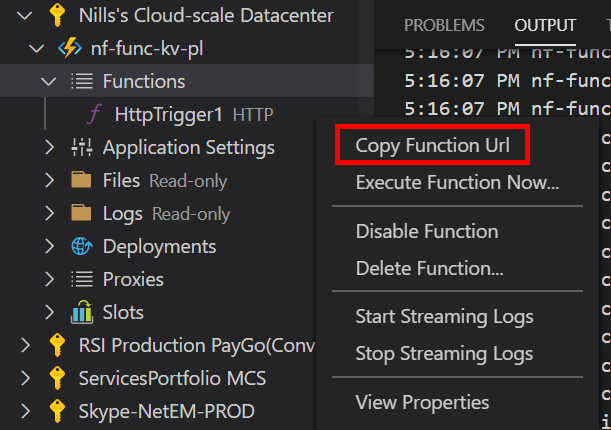
This will trigger the deployment to happen. The deployment should take about half a minute to complete. Once this is complete, open the Azure extension view in VSCode, and navigate to your subscription and function. Right click on HTTPTrigger1 and copy the link. Open this in a browser, and you should see the output of the python code we saw earlier:

With that working, we can now get to work on the actual code we want to write. We are lucky, since the Azure documentation contains an example of this scenario: using managed identities to access a key vault secret. I modified this a little, and this is the end result we’ll deploy to functions in a second.
import logging
import os
import azure.functions as func
from azure.identity import DefaultAzureCredential
from azure.keyvault.secrets import SecretClient
def main(req: func.HttpRequest) -> func.HttpResponse:
logging.info('Python HTTP trigger function processed a request.')
vault_url = "https://nf-func-kv.vault.azure.net/"
credential = DefaultAzureCredential()
logging.info('Created managed identity.')
secret_client = SecretClient(vault_url=vault_url, credential=credential)
logging.info('Created secret client.')
retrieved_secret = secret_client.get_secret("superSecretApiKey")
logging.info('Got secret from Key Vault.')
if retrieved_secret:
return func.HttpResponse(f"superSecretApiKey is set to {retrieved_secret.value} in key vault.")
else:
return func.HttpResponse(
"Function triggered successfully, but failed to get secret from key vault.",
status_code=200
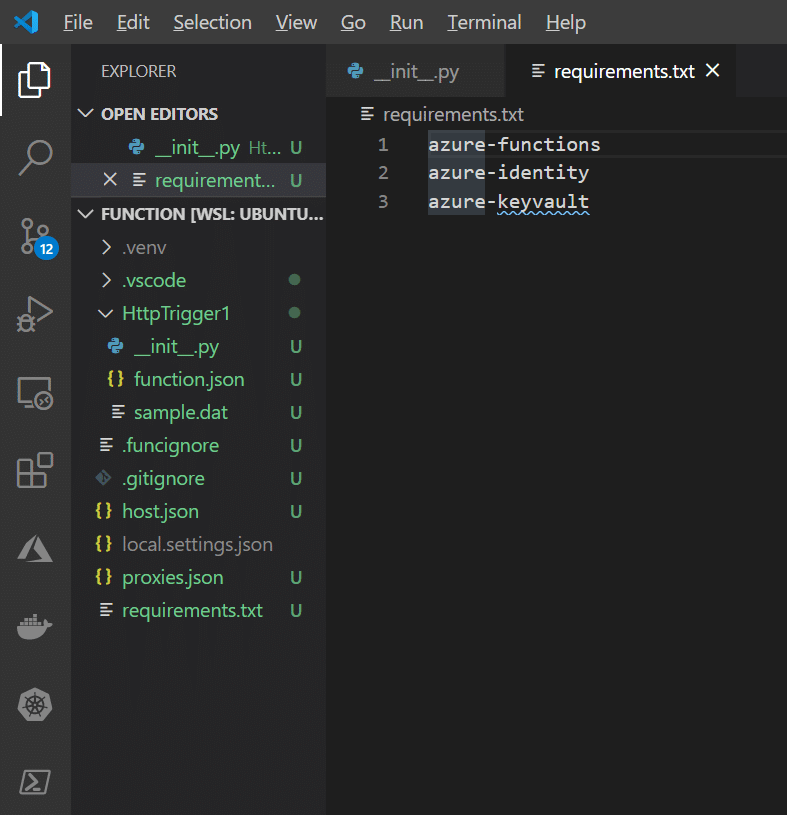
)Since we’re importing from two new python packages, we’ll need to add those to the requirements.txt file.
With that done, we can redeploy the function to Azure. To do this, we can also use the graphical explorer in VSCode. Open the Azure window again, right click in your function and click on deploy to function.
You’ll get another warning about overwriting, and can then deploy to the function. This will take another 30 seconds, and once live, you should be able to open the function url as we did before, and now see the secret outputted:

Cool! So we were able to connect a function to key vault using public networking. Let’s convert this to private networking now.
Integrate Key Vault using PrivateLink and function using VNET integration.
OK, now we can get to the actual meat of this blog post: setting up private networking. To begin, let’s create a new VNET in the resource group we created earlier.
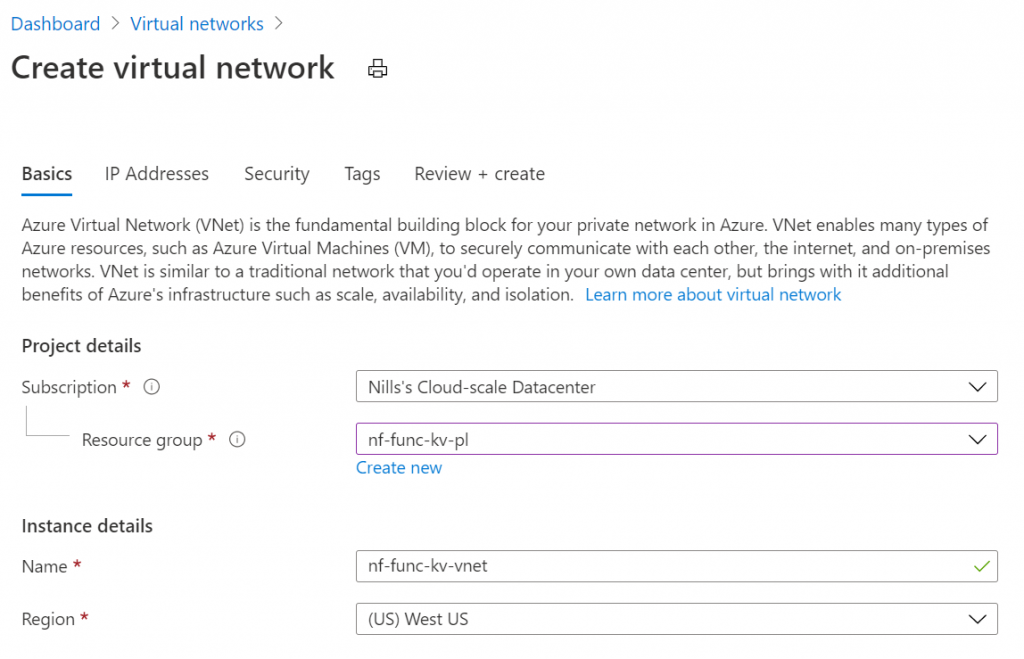
We’ll create 2 subnets in this VNET, one for the key vault private link endpoint, another for the function VNET integration:

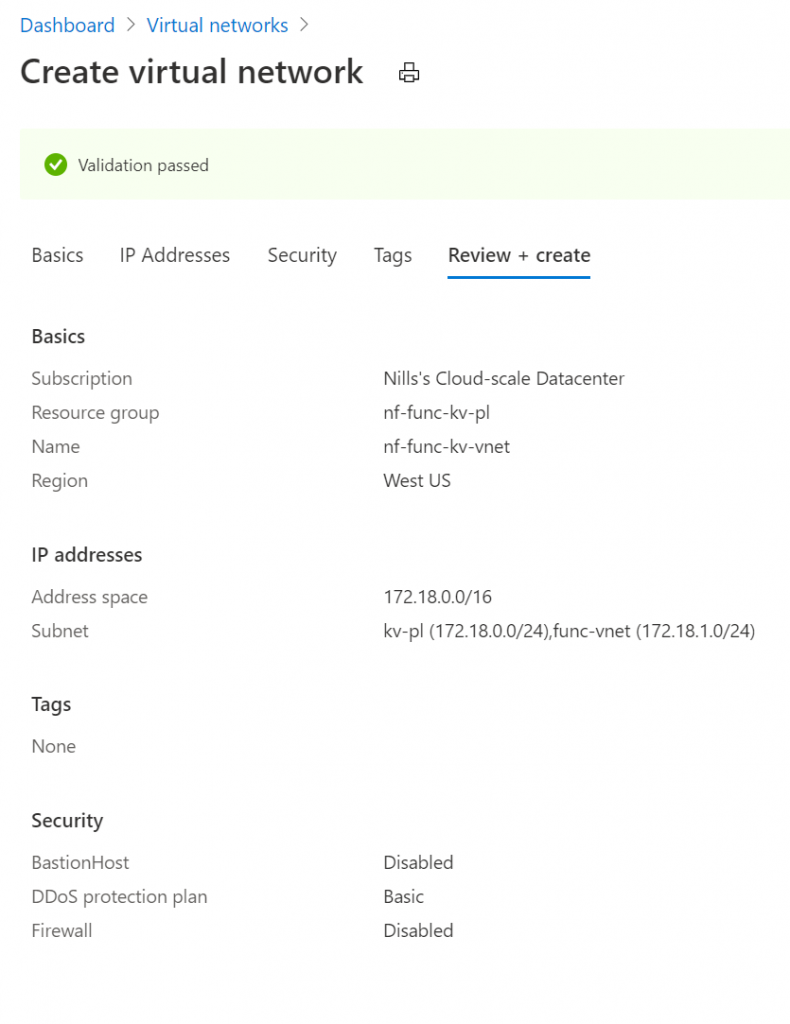
We’ll skip security and tagging, review and hit the create button.
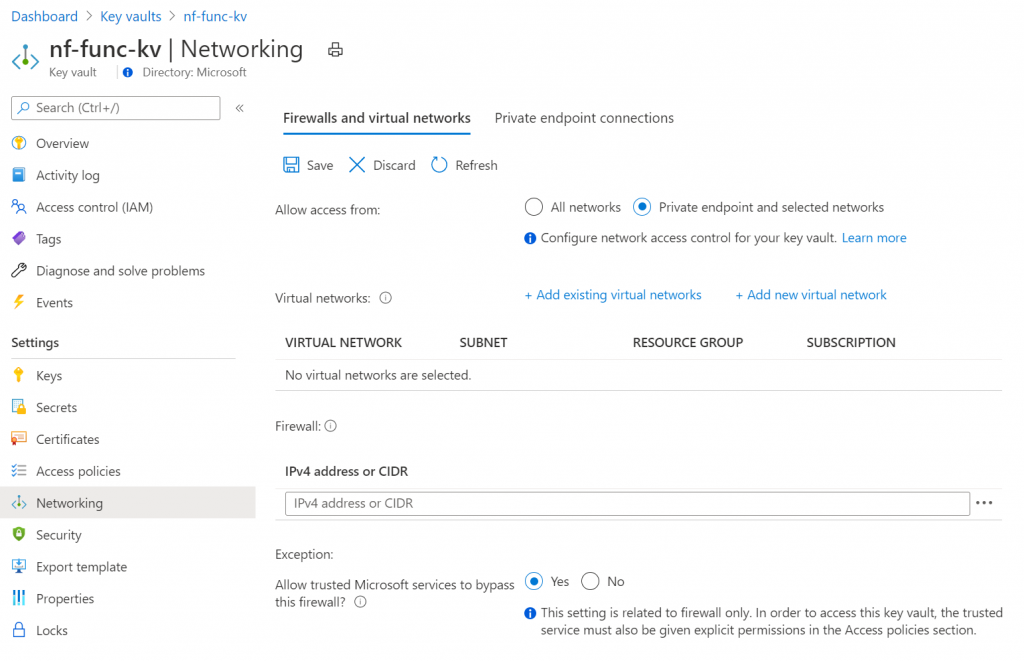
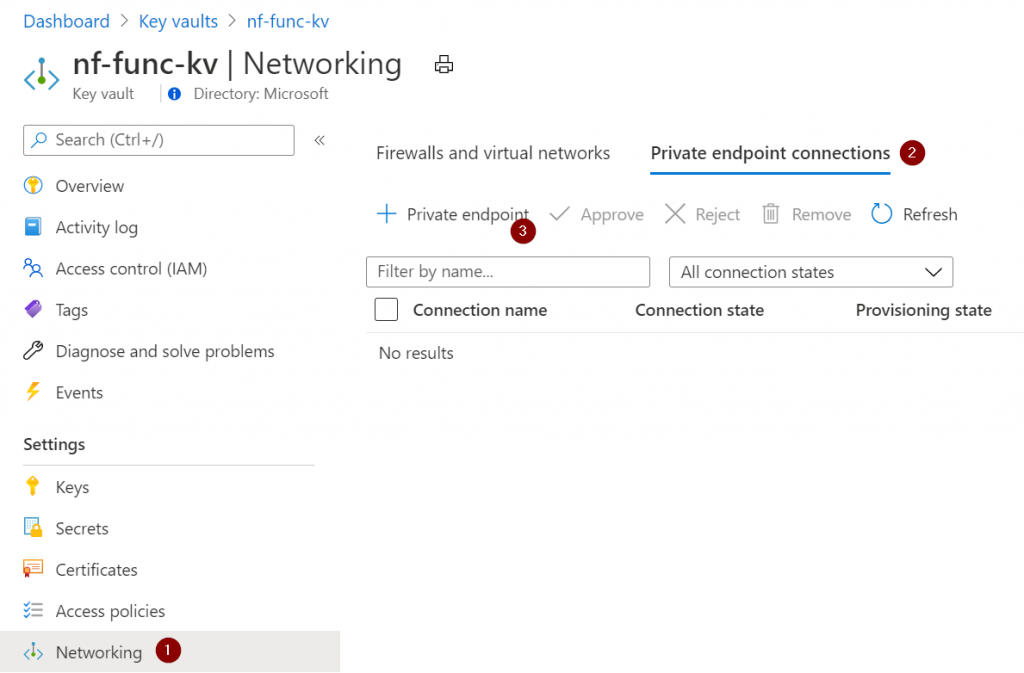
Creating the VNET should take a couple seconds. Once it’s created, head on over to your key vault so we can start integrating that into the VNET. Open the networking blade, and change the Firewalls and virtual networks option to Private endpoint and selected networks.
Now switch to Private endpoint connections and hit the new Private endpoint button.
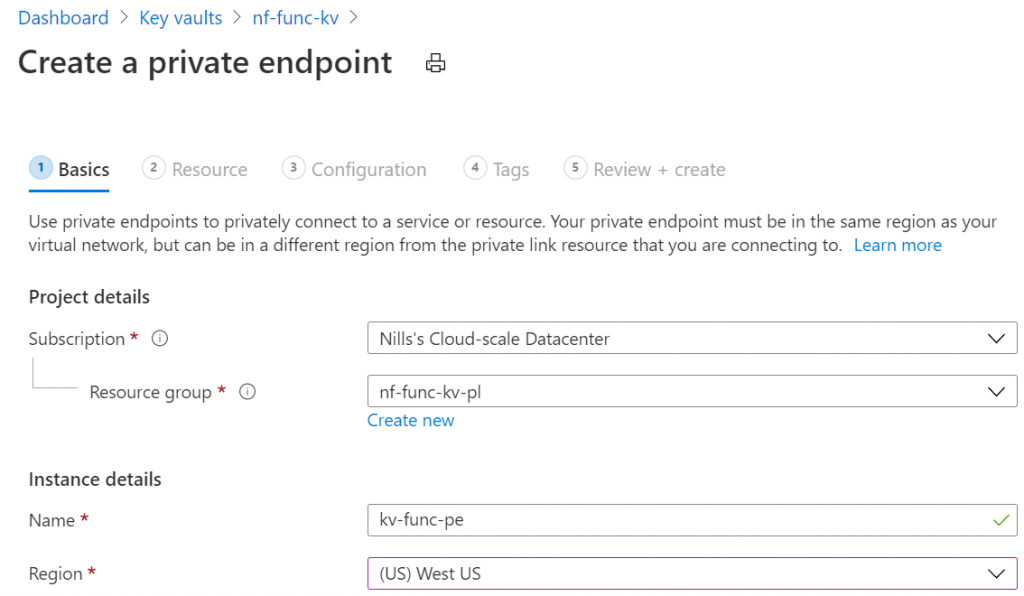
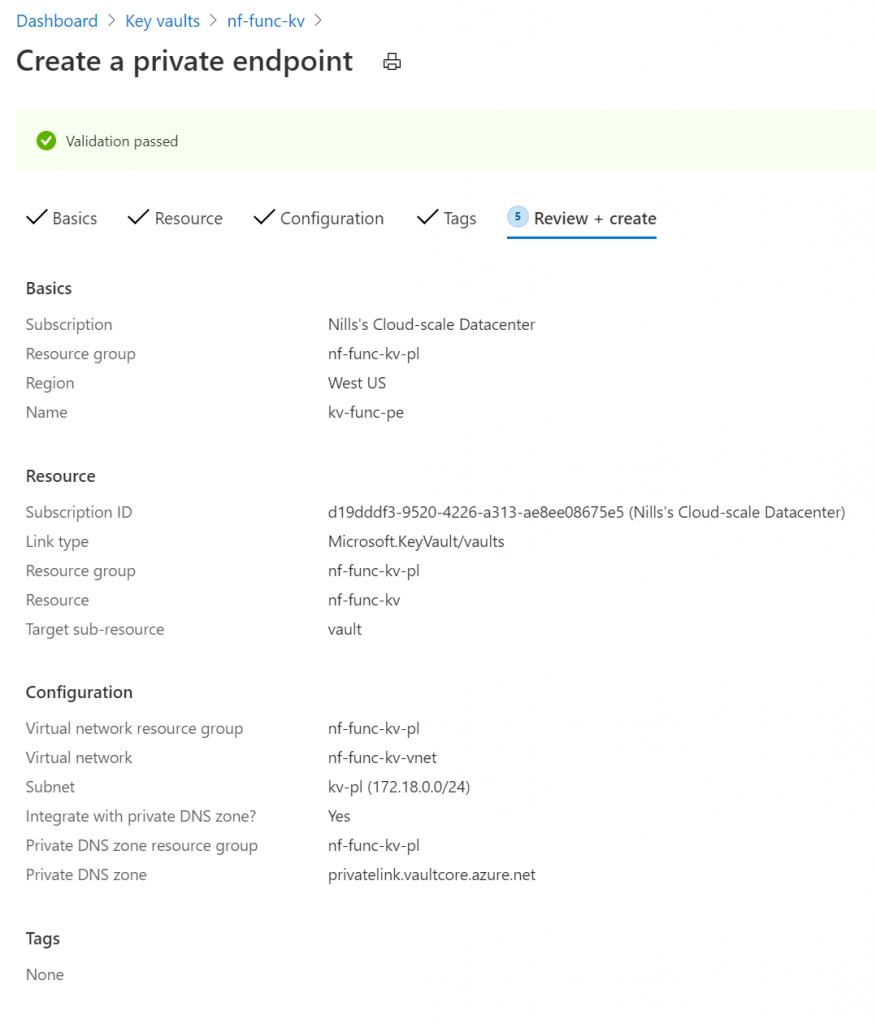
We’ll start with providing it a name and the resource group details:
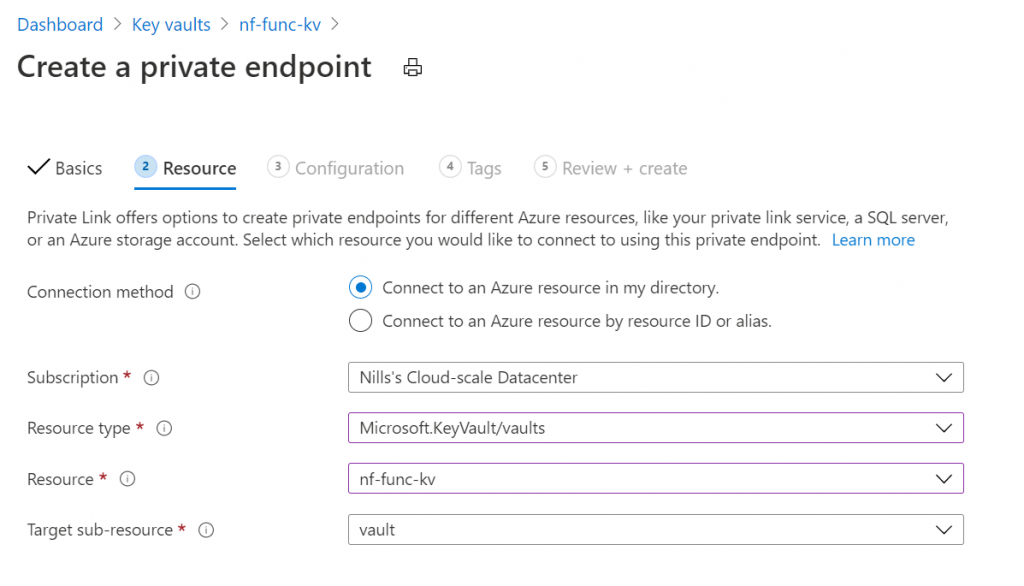
Then we will select our key vault as the target resource:
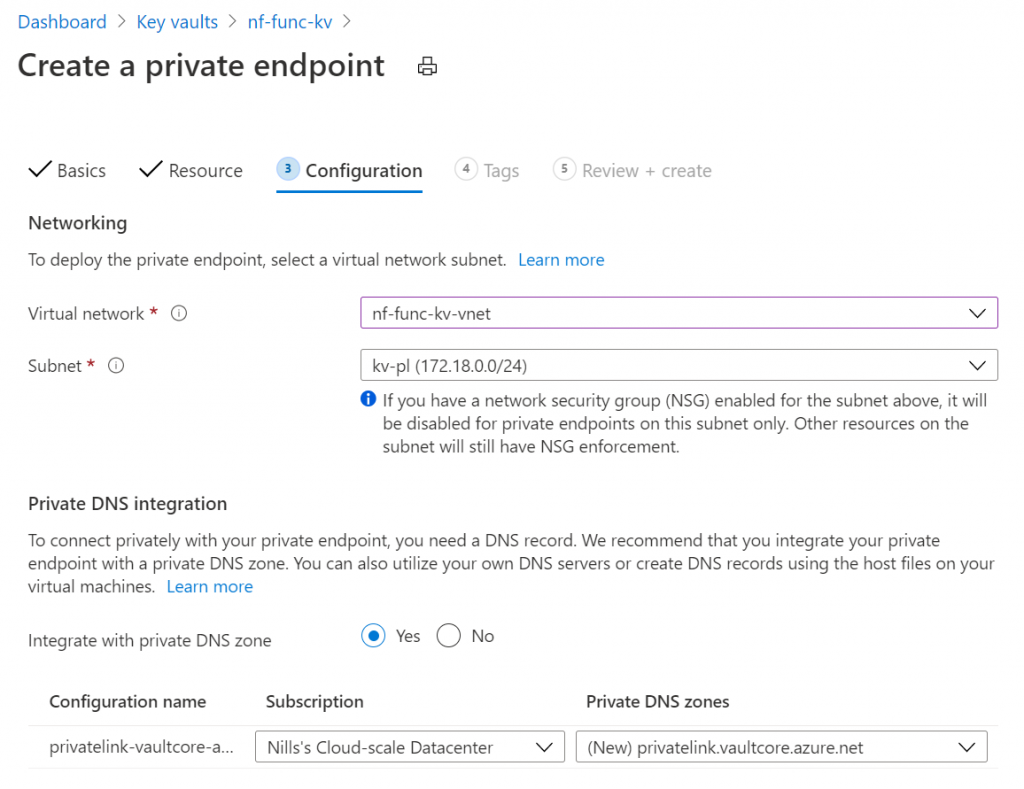
Next, we’ll pick our VNET that we created, and allow this wizard to create a private DNS zone.
We’ll skip tagging again, review and then create the private endpoint.
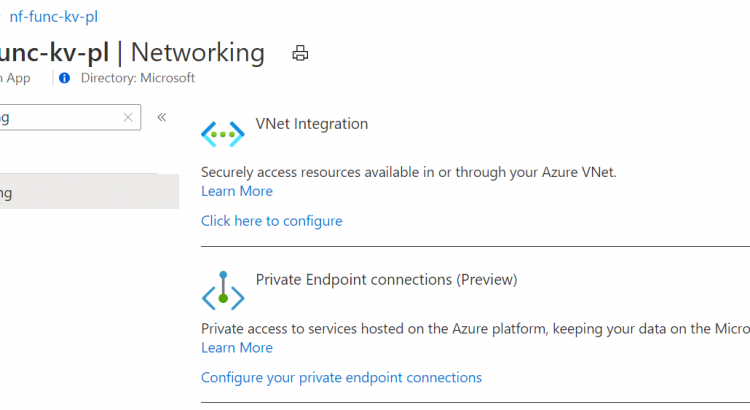
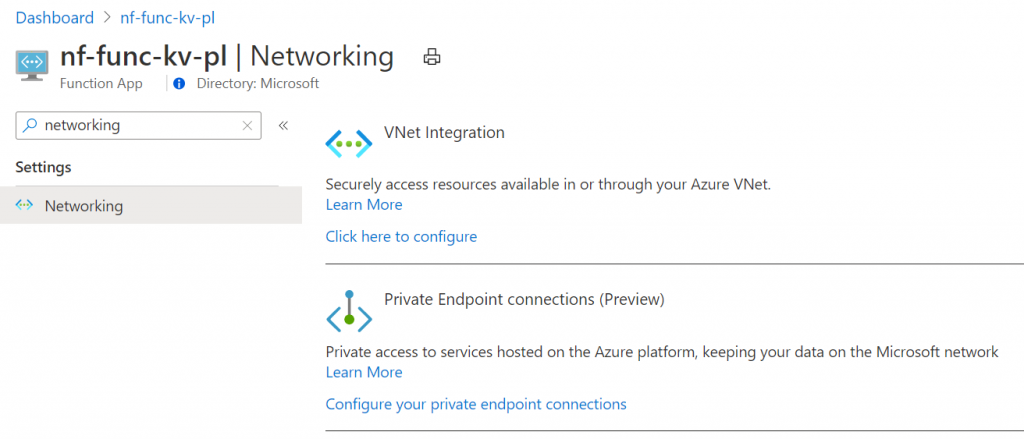
While this is creating, we can setup the functions VNET integration. Open your function in the Azure portal, and open the networking blade. Here we need to select the first option, VNET Integration:
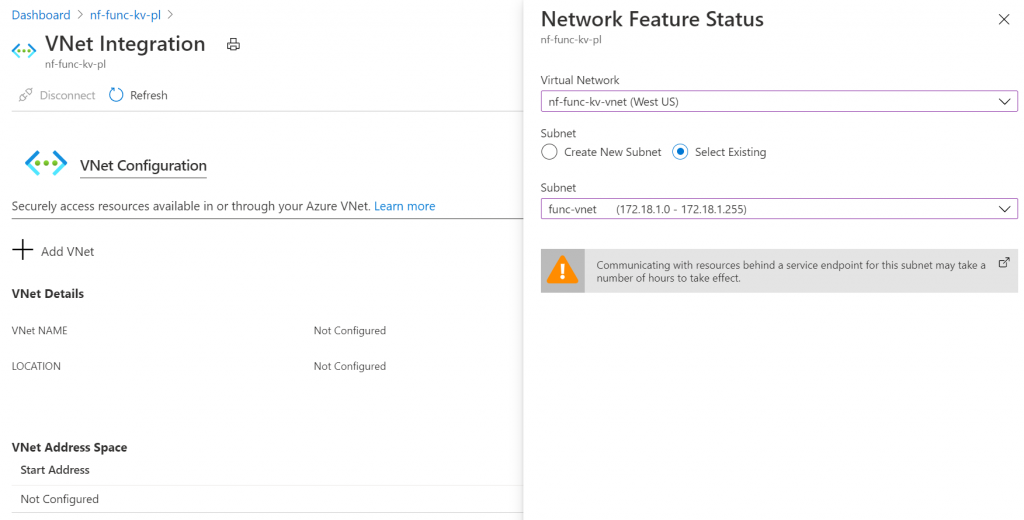
In the configuration blade, hit the add VNET button, and select the VNET and subnet for the functions:
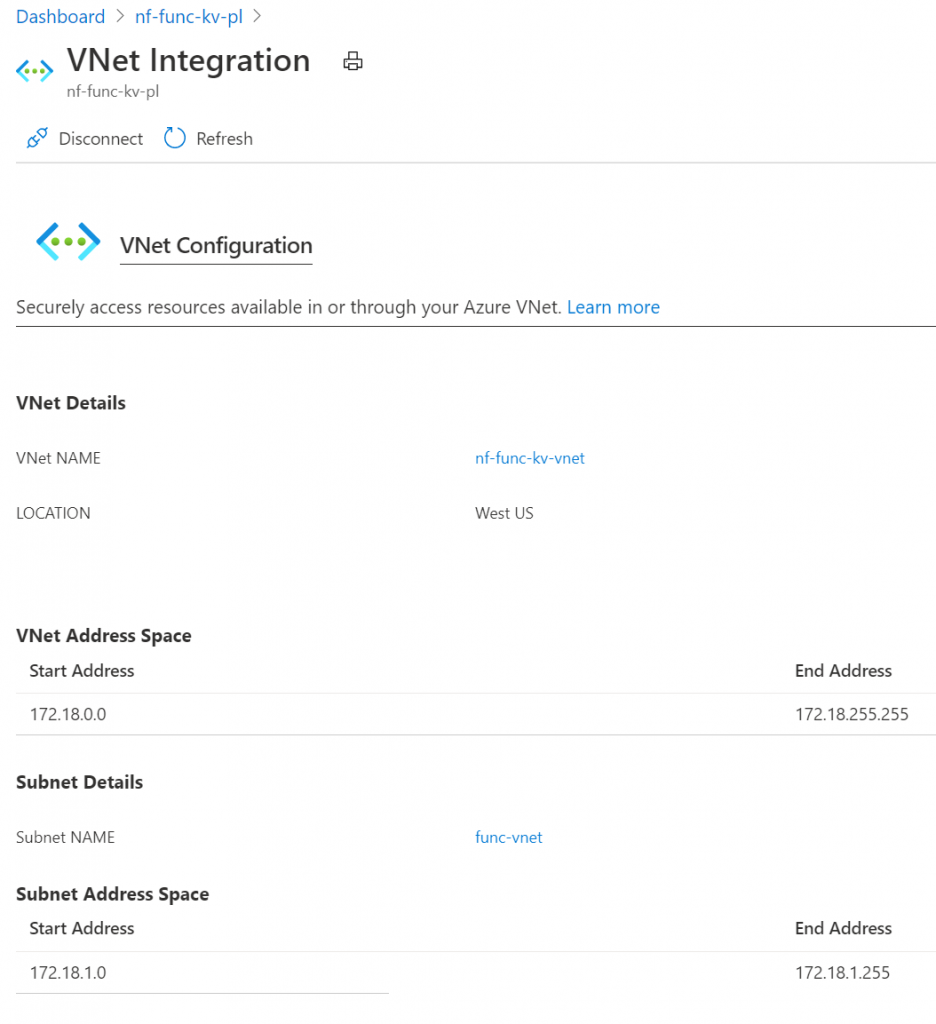
This will only take a second, but it should show an updated VNET configuration blade:
This should be it in terms of networking configuration. Before we can make this work completely, we’ll need to make a small configuration change in Functions to use private DNS. We’ll do that next.
Configure Azure Function to use Private DNS Zone.
Our key vault is now only accessible using private link. However, Azure Functions by default uses public DNS, so doesn’t know how to find the IP address of the key vault it needs to connect to. To change this, we need to set two application settings in Azure Functions:
- WEBSITE_DNS_SERVER with value 168.63.129.16
- WEBSITE_VNET_ROUTE_ALL with value 1
To set these app settings, you can either use the Azure portal, or stay inside VSCode to set them. I did it in VSCode. Right click application settings, and select Add New Setting…
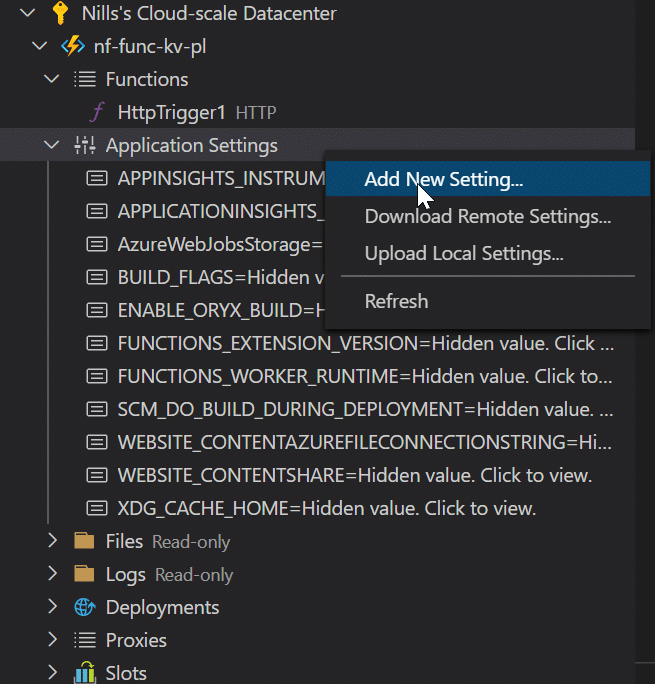
And enter both settings.
This should do it. Let’s test this out in our function.
Have function query private Key Vault to verify things work
The thing now is, it just works. Open the function again, and you’ll notice that you’re getting the output you’re expecting. I was expecting that we would have had to change the key vault URL to the privatelink url, but it works using the regular URL.

But there’s no easy way to confirm that this is flowing over the private connection rather than the public connection.
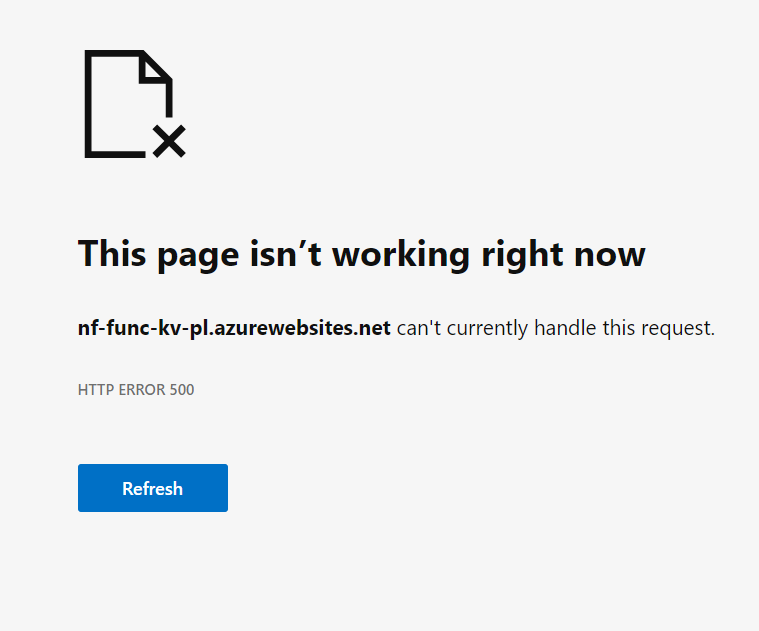
To verify that the function actually was using Private Link, I decided to cut the tie between the function and the VNET (meaning, I disabled the VNET integration).

Give this about a minute to disconnect (disconnecting is weirdly slower than connecting), and see now that the web page is throwing an error:
We can dive into the details of this error by opening the log of our application in VScode:
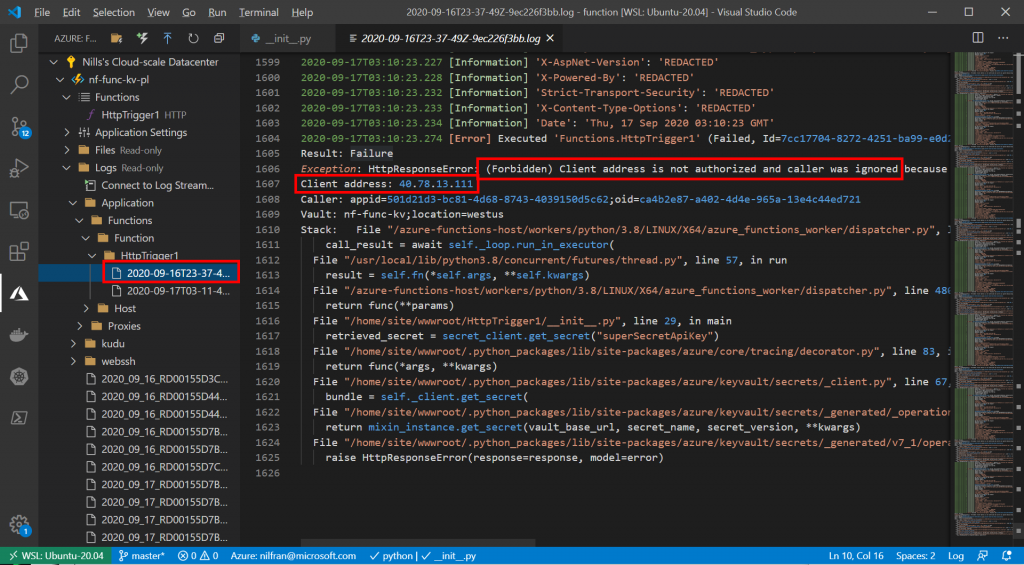
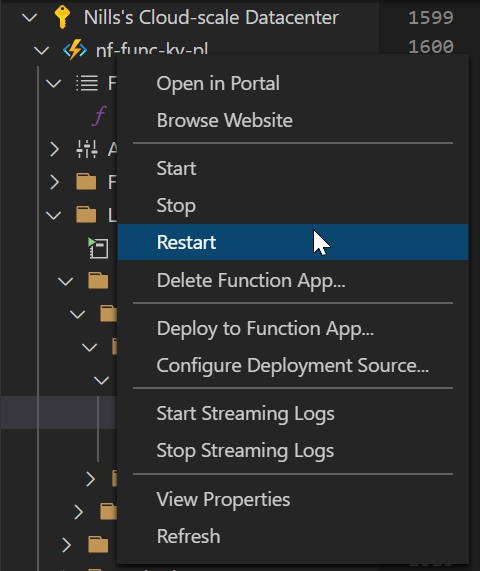
Which clearly tells us that now the client address is not authorized, which proves that we were using privatelink for the connection. Let’s reconnect the VNET, and restart the function (I kept getting errors, a restart of the function cleared it for me) and this will be working again:
And that’s it. That is how you connect a function to key vault using private connections.
Summary
Storing secrets in key vault is a security best practice. Protecting that key vault using private link is also a good practice, because it disables connections coming over public IPs. You can connect functions to that key vault using that private link connection by integrating your function into your VNET, and configuring it to use the private DNS zone. Once all of this is configured, you can securely and privately connect your Azure functions to key vault.