If you’ve followed along with my experiences, you might have noticed I have been dealing with Windows Virtual Desktop (WVD) for a while. My previous posts describe how to set it up, and how to integrate FSlogix.
In this post, I want to explore another item, which is the WVD management tool. Currently, the management of WVD is done mainly through PowerShell. This is a good tool to automate your deployments, but can be cumbersome if you need to get a quick overview of your environment. In the current status of WVD, there is no graphical mangaement UI built-into the Azure portal. There is however a management tool that can be deployed as a Web App (source code on Github).
Let’s have a look and set this up.
Deploying the management UI
Looking through the documentation for the management tool, there is a very strange requirement. You must provide the deployment template with a user that has MFA disabled. This user is used to create the resources in the Azure subscription (aka the webapp) and register an Azure AD application (aka service principal). If you don’t have a user with those permissions without MFA, create a new (potentially temporary) user account and grant it permissions on the Azure subscription and Azure AD. If you create a new user, make sure he has the following rights:
- Contributor on your Azure subscription
- Has permissions to create new app registrations in Azure AD.
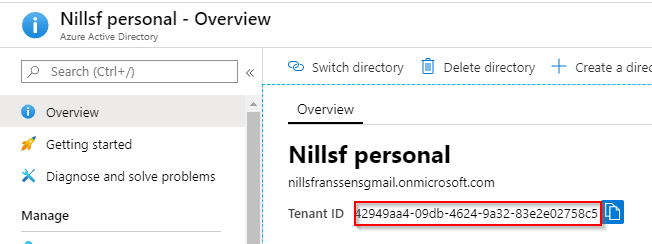
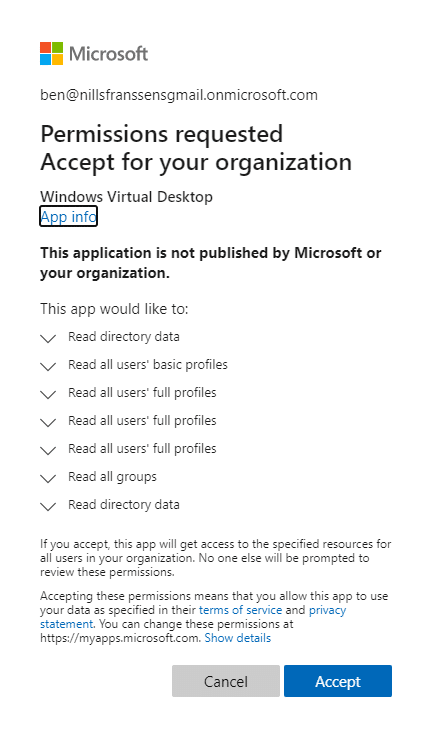
Next up, you’ll need to provide consent via the WVD consent page to create a server and client app. In this page, you’ll need to provide your AAD tenant ID. You find that info in the AAD blade in Azure.
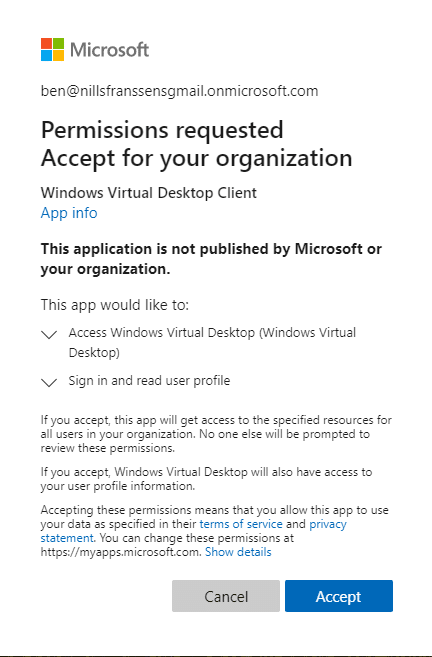
Once on the consent page, first grant consent to the server app, wait 30 seconds, and then grant content to the client app. Please use the user that you were planning to use to do the deployment for give the consent.
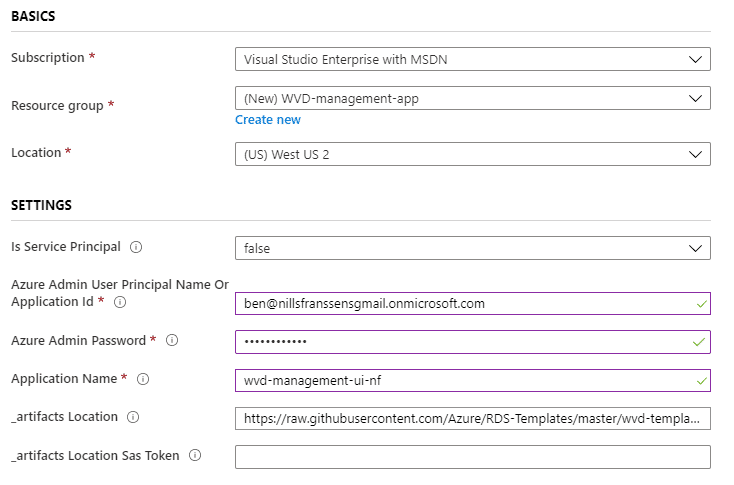
Next, we’ll go ahead and deploy the actual application. You can deploy the solution using this link. If you want some more info and look at the source, check out the github repo.
You’ll be asked for a couple of parameters for the template deployment. The most important thing here is to ensure the ‘Application Name’ is unique.
The overall deployment should take a couple of minutes. After it is done, you should see the following:
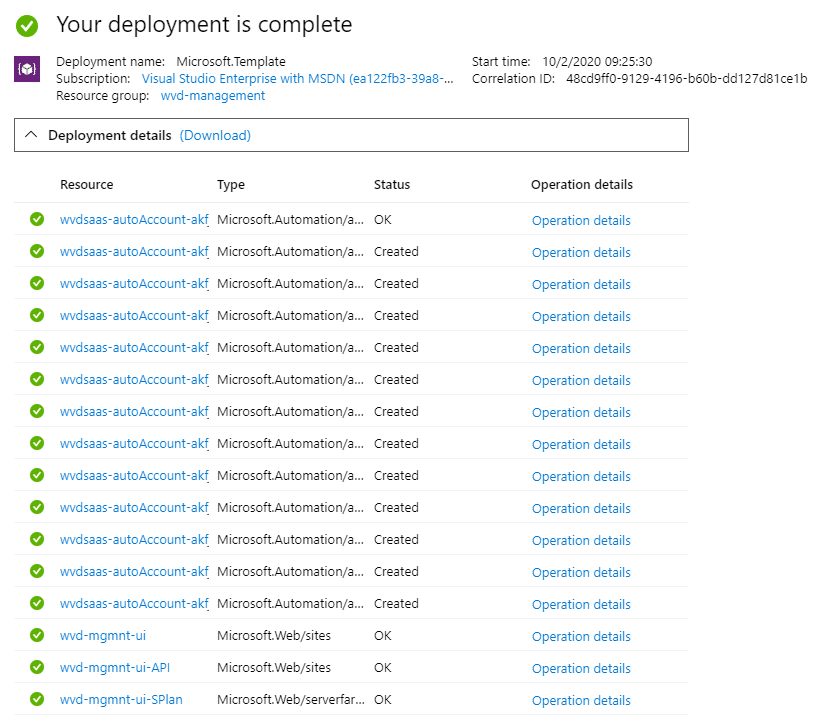
An interesting thing to notice here is that the template created an Automation Account to run a Powershell script, which then deleted the Automation account again. If you go to the resource group, you should see an app service plan, with an api and a web app.
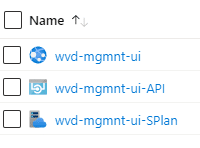
To open the management UI, click on the web app, and then hit the browse button. This will redirect you to sign into Azure AD. You might additionally get a prompt for additional permissions.

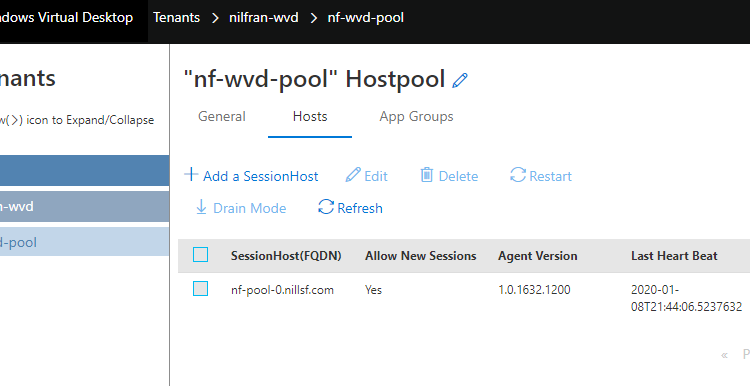
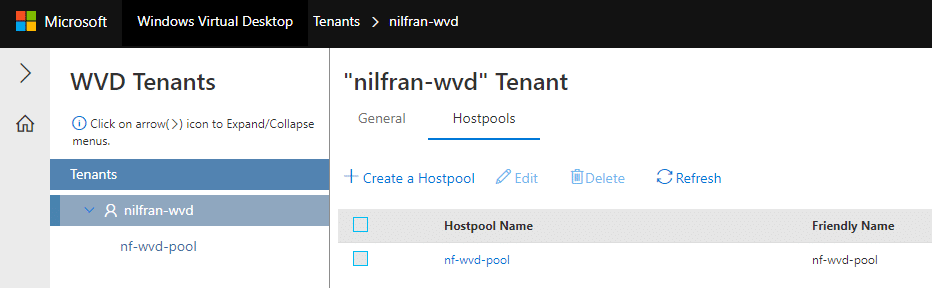
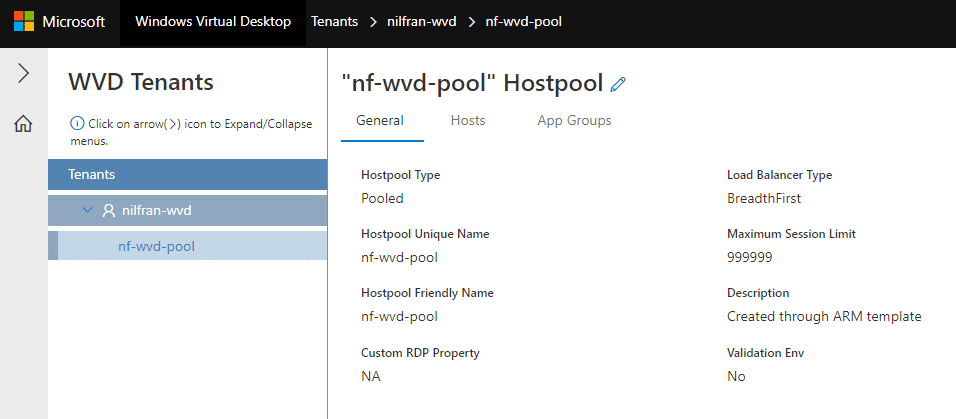
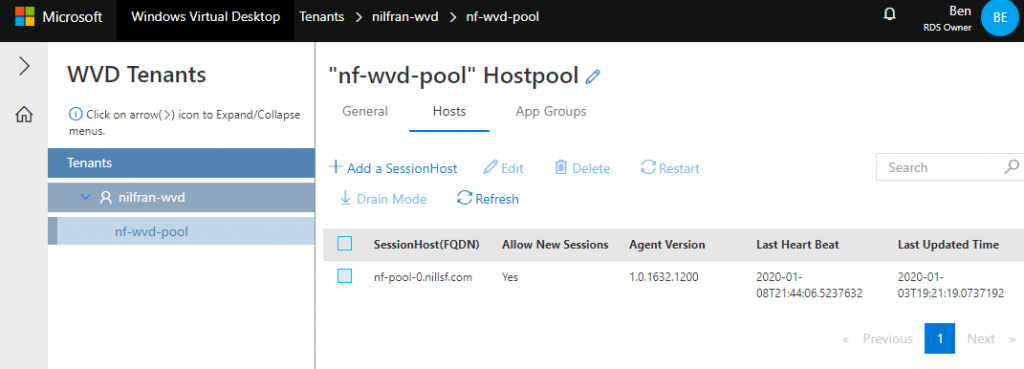
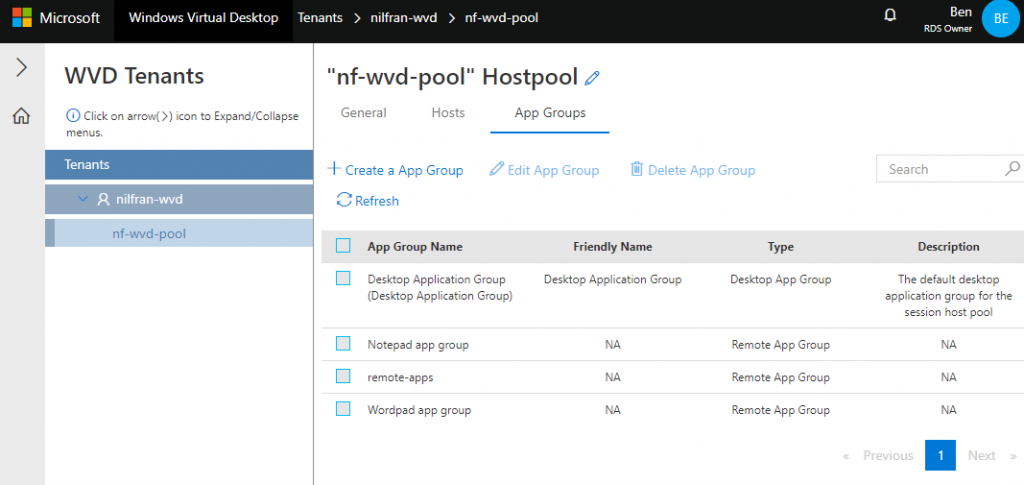
Exploring the management UI
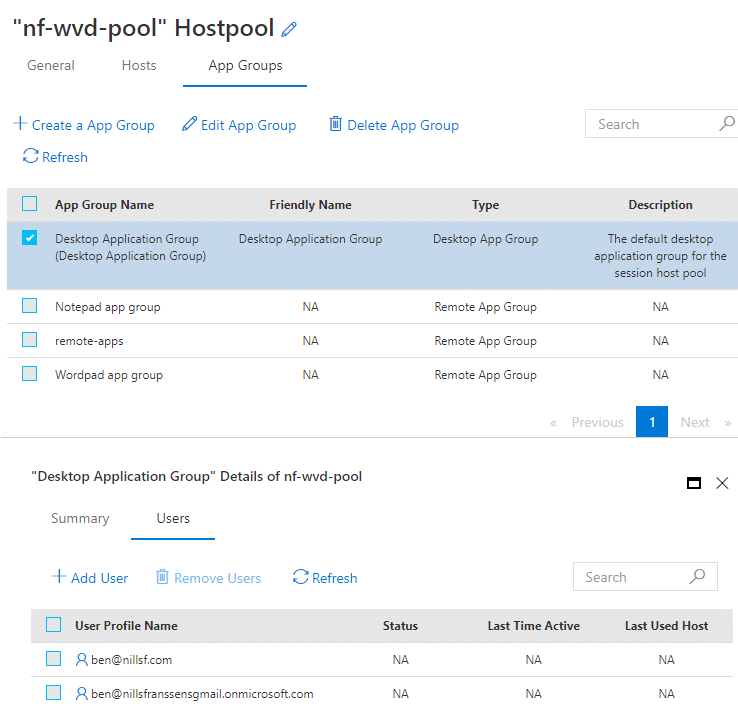
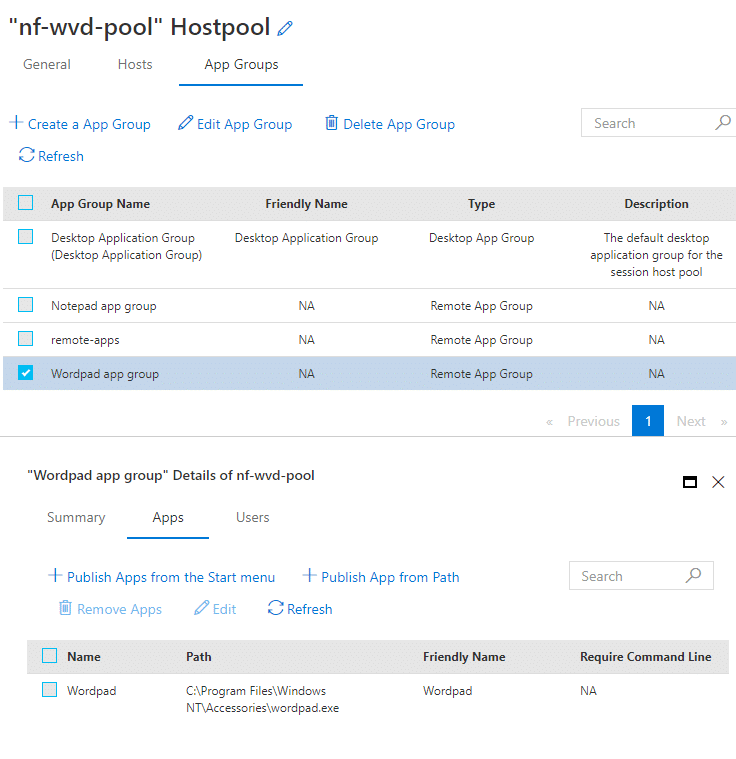
The UI is pretty straightforward. It allows you to browse through your tenant, your host pools, the hosts in a pool and configure the applications. I provided a couple of screenshots below to show the experience:
Summary
In this post we discussed how you can go ahead and deploy the management UI on top of WVD. The creation process was a bit involved, with the requirement of a user account without MFA (which I still find strange) and having to give consent twice through yet another portal.
That being said, the management UI does seem useful when you’re managing WVD. It gives you a quick overview of your environment, and allows you to make edits in a graphical shell rather than using PowerShell.